
Custom ribbon addin for outlook classic
0. Overview
In this post, I will share how to create Custom Ribbon AddIn to Outlook Classic. Hope this demo can help you!
Project repository:
https://github.com/eelhpesoj/OutlookAddIn1
[Index]
- Installation Visual Studio
- Create project and Add-in setup
- Debug and Publish
- Install and Results
1. Installation Visual Studio
First up first, you need a visual studio. You don’t need a enterprise version or something. Community version is totaly fine.
Download installer: https://visualstudio.microsoft.com/vs/community/
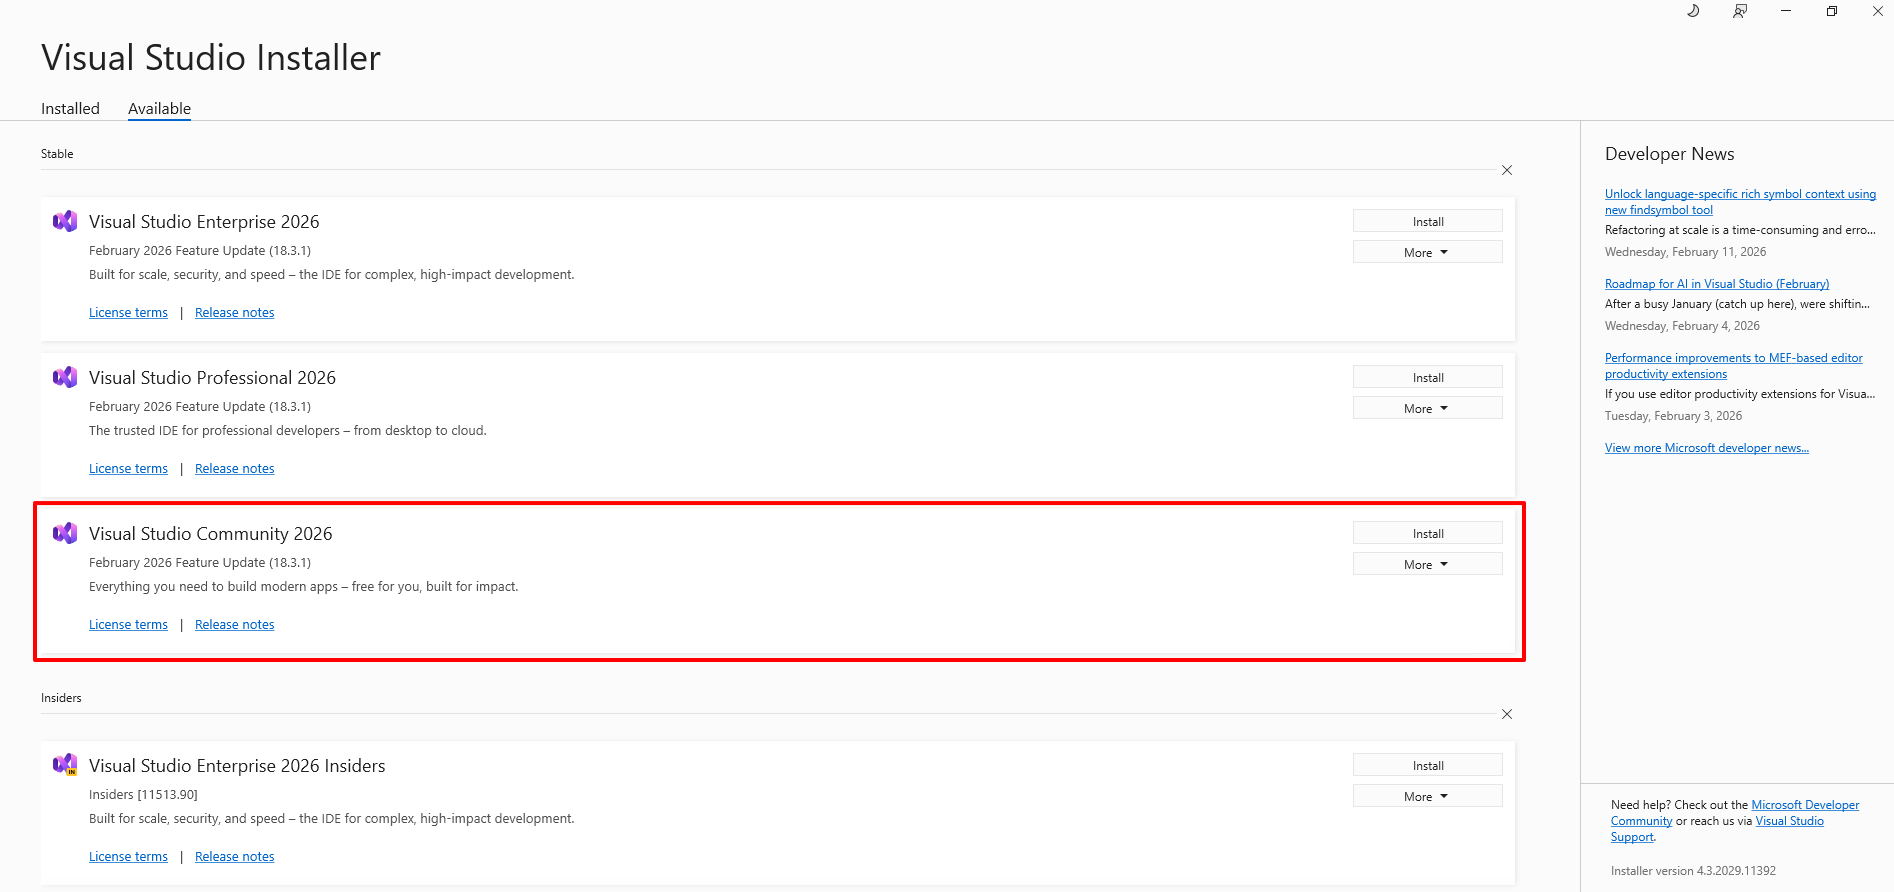
Install “Visual Studio Community 2026”
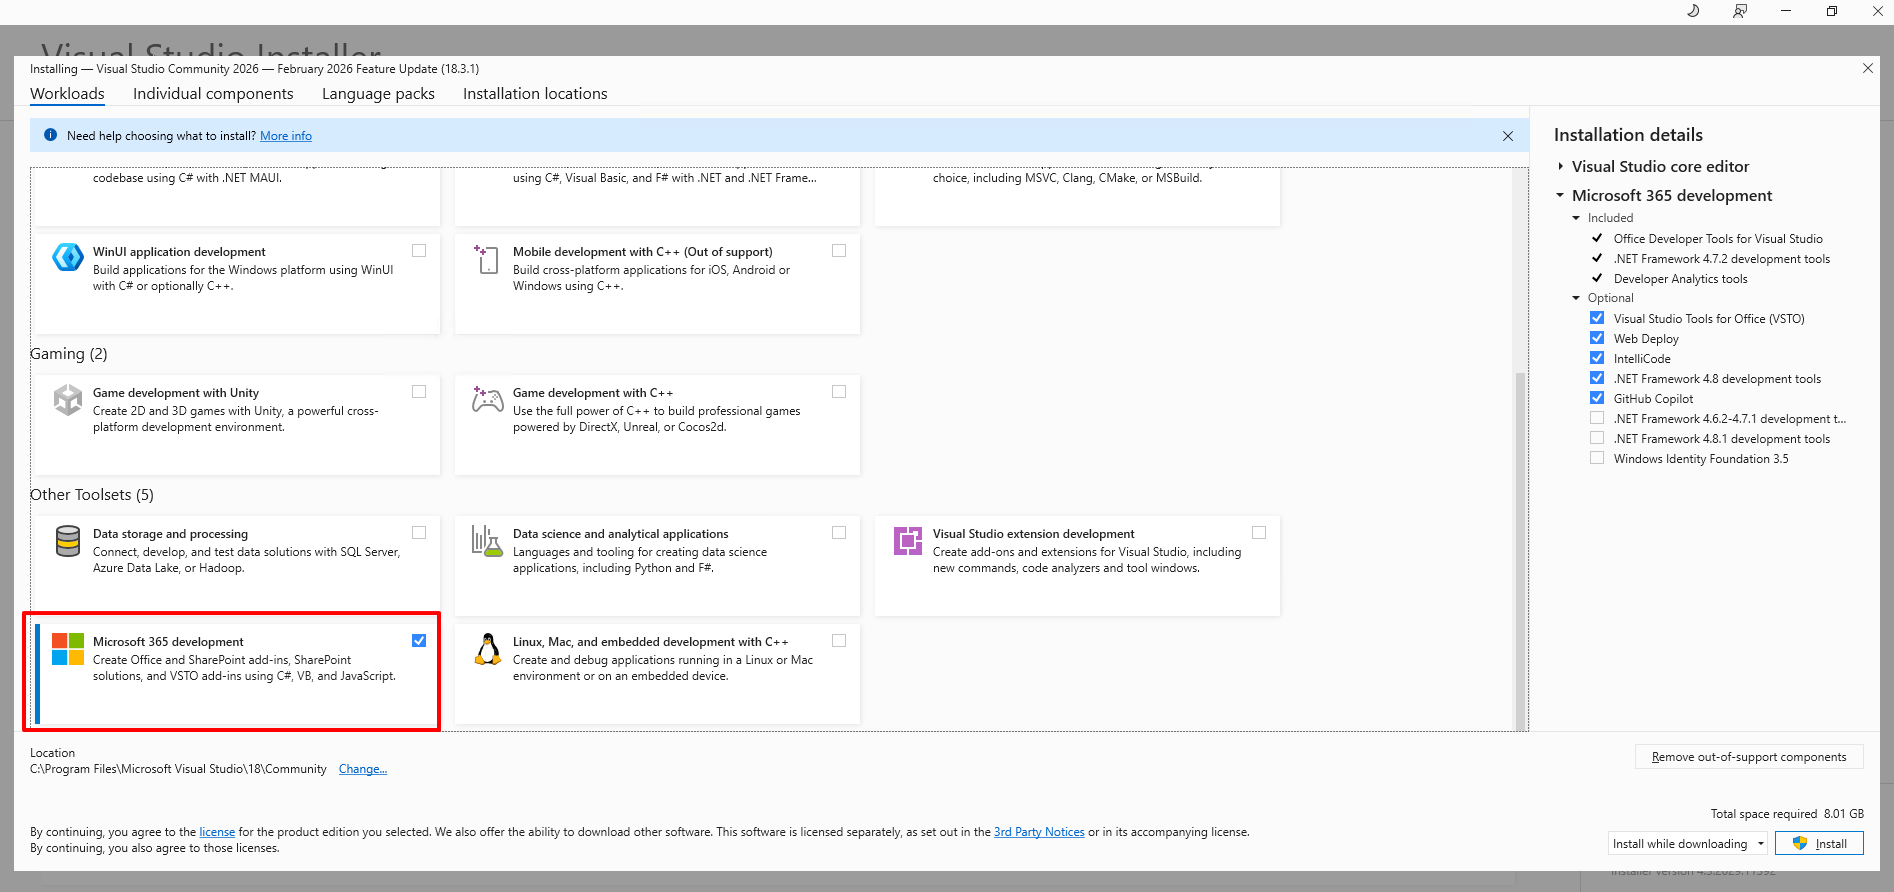
Select “Microsoft 365 development”
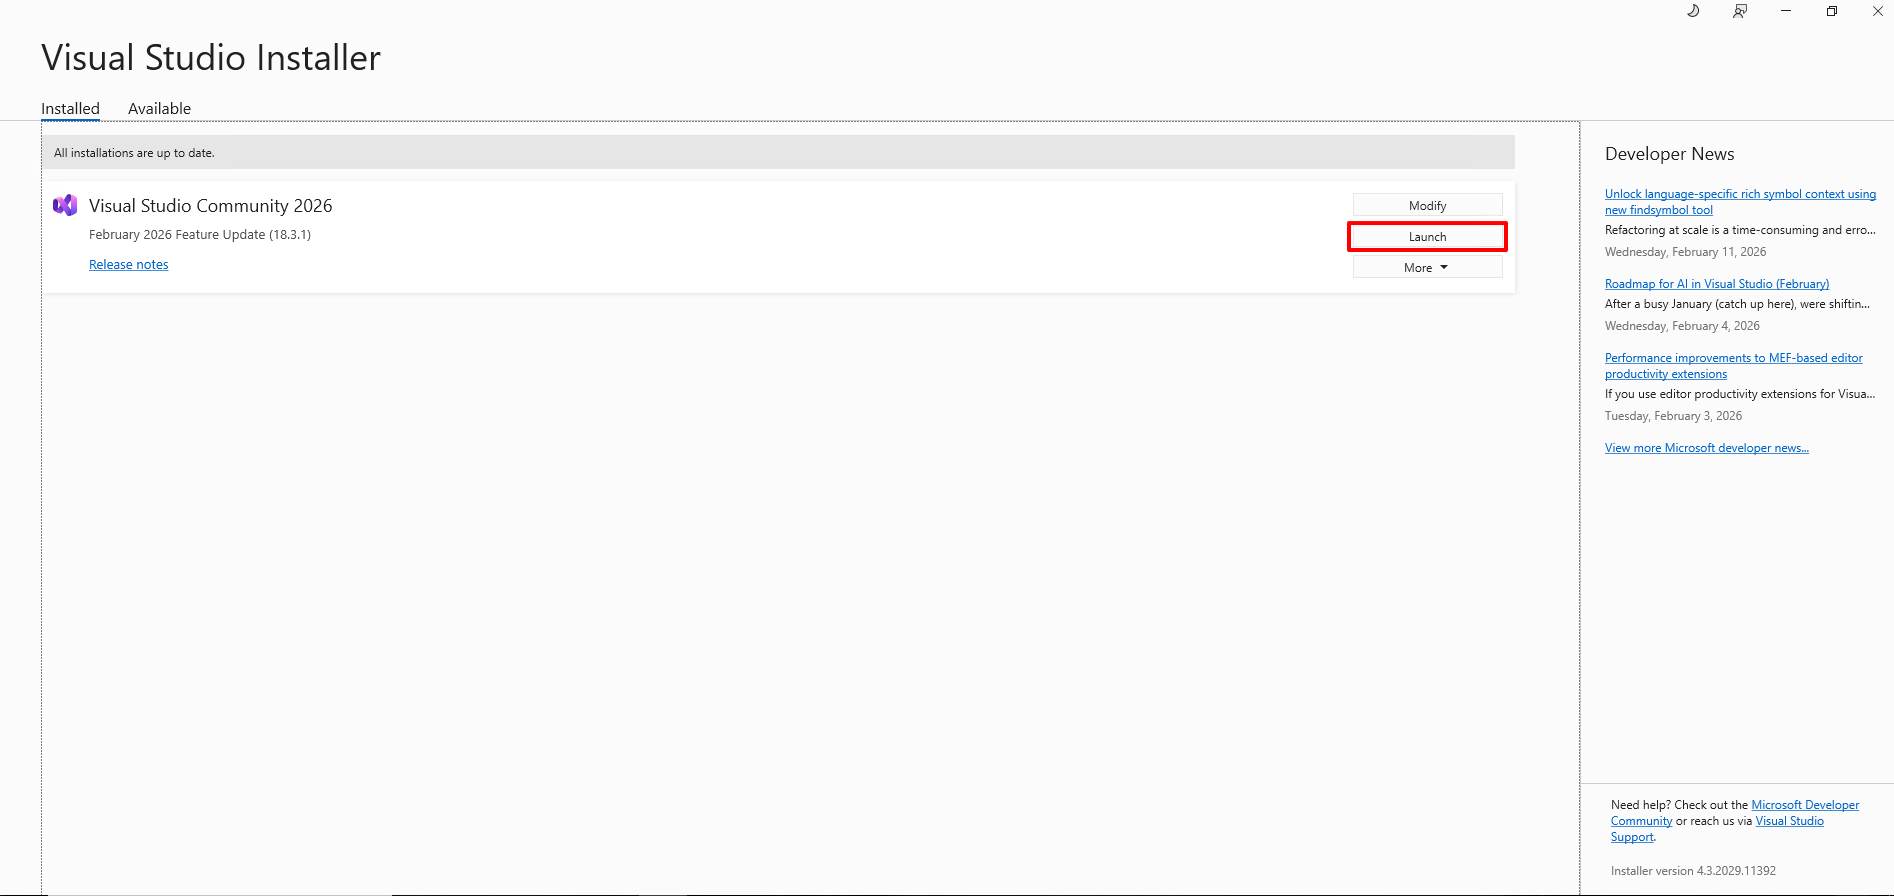
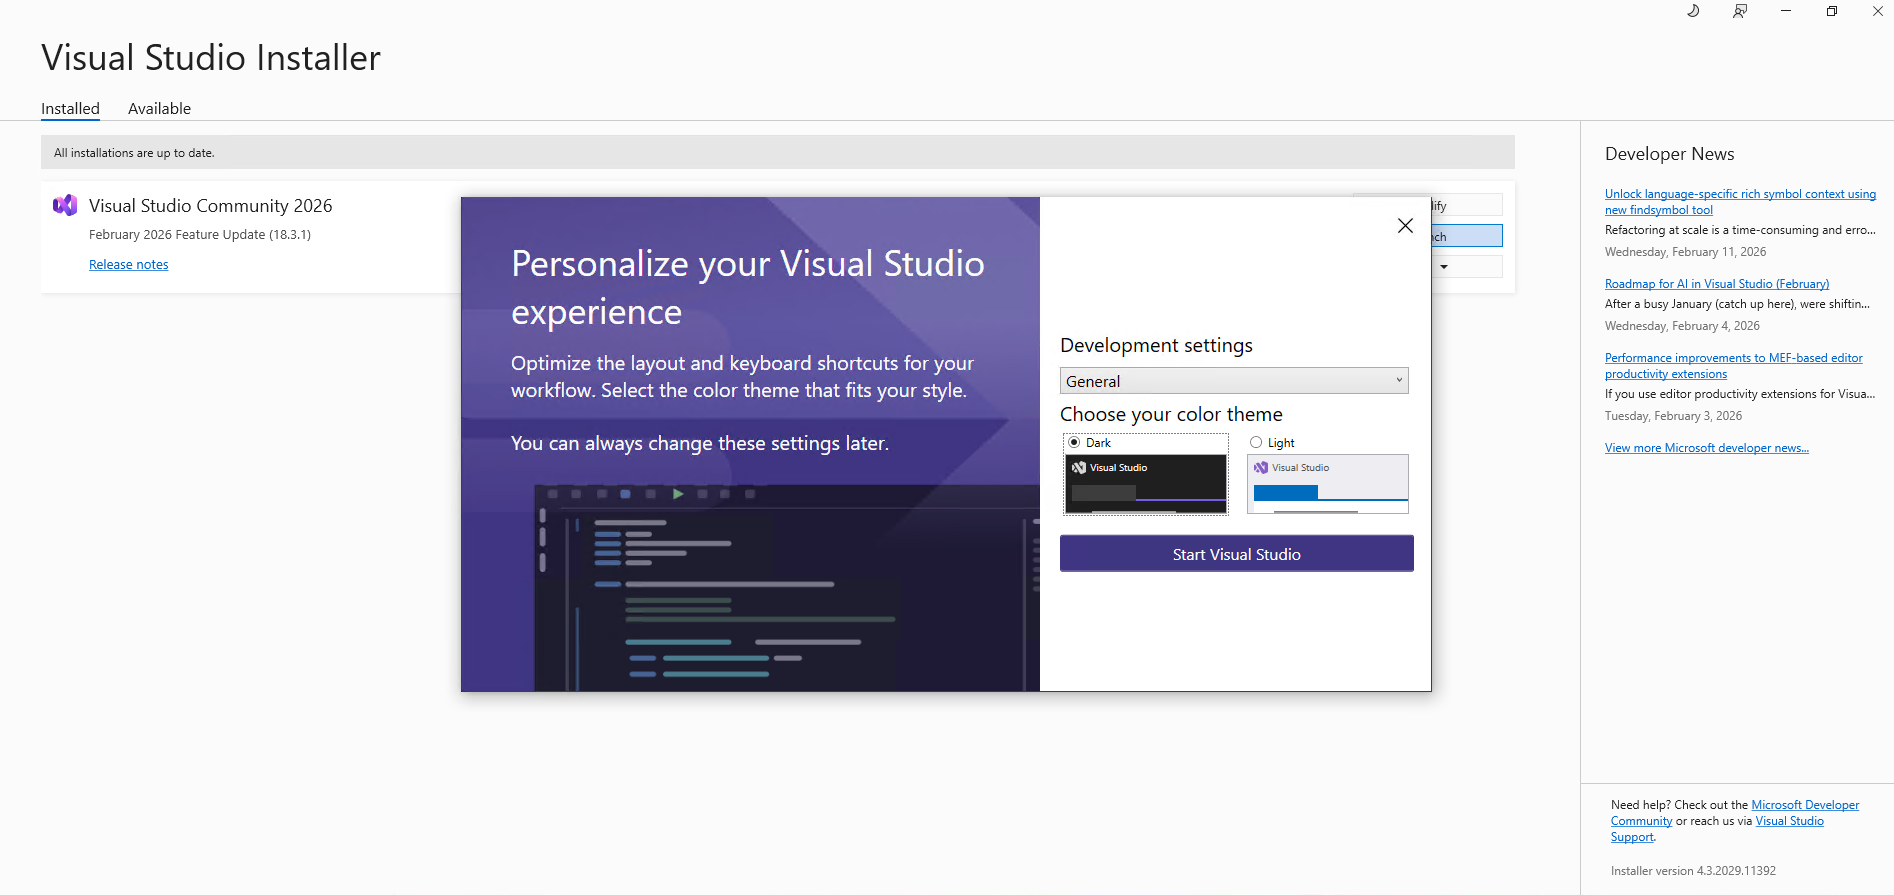
Launch it when it’s done
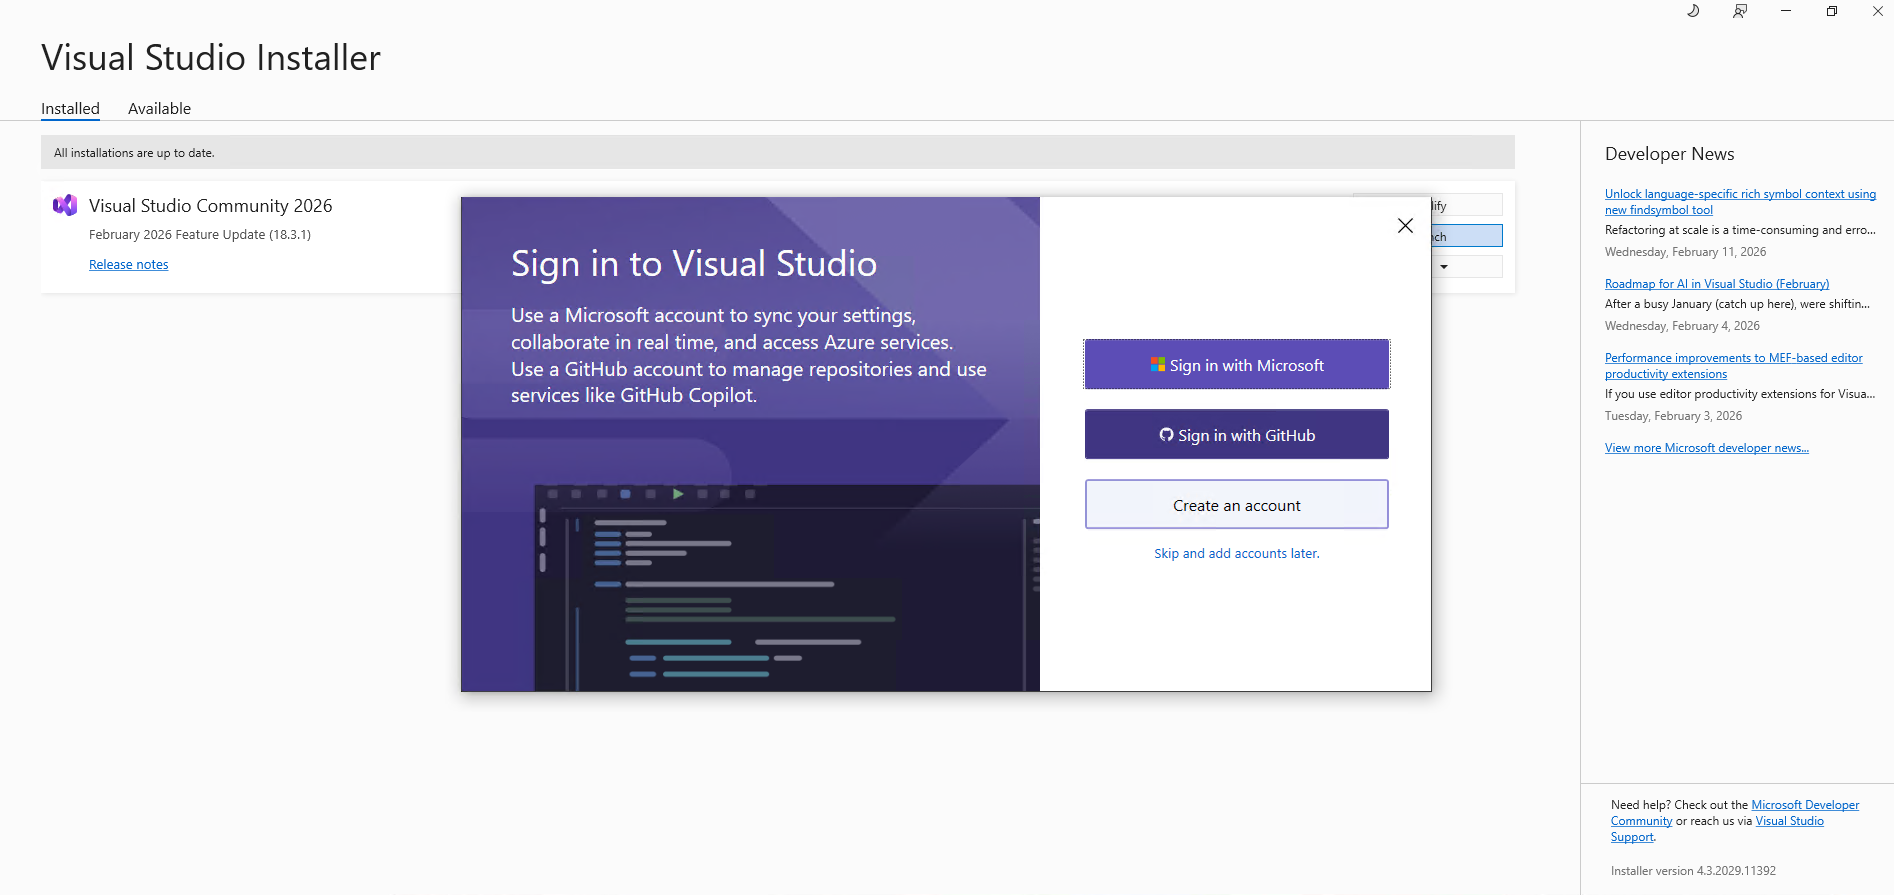
Sign in. Recommended to use github.
2. Create project and Add-in setup
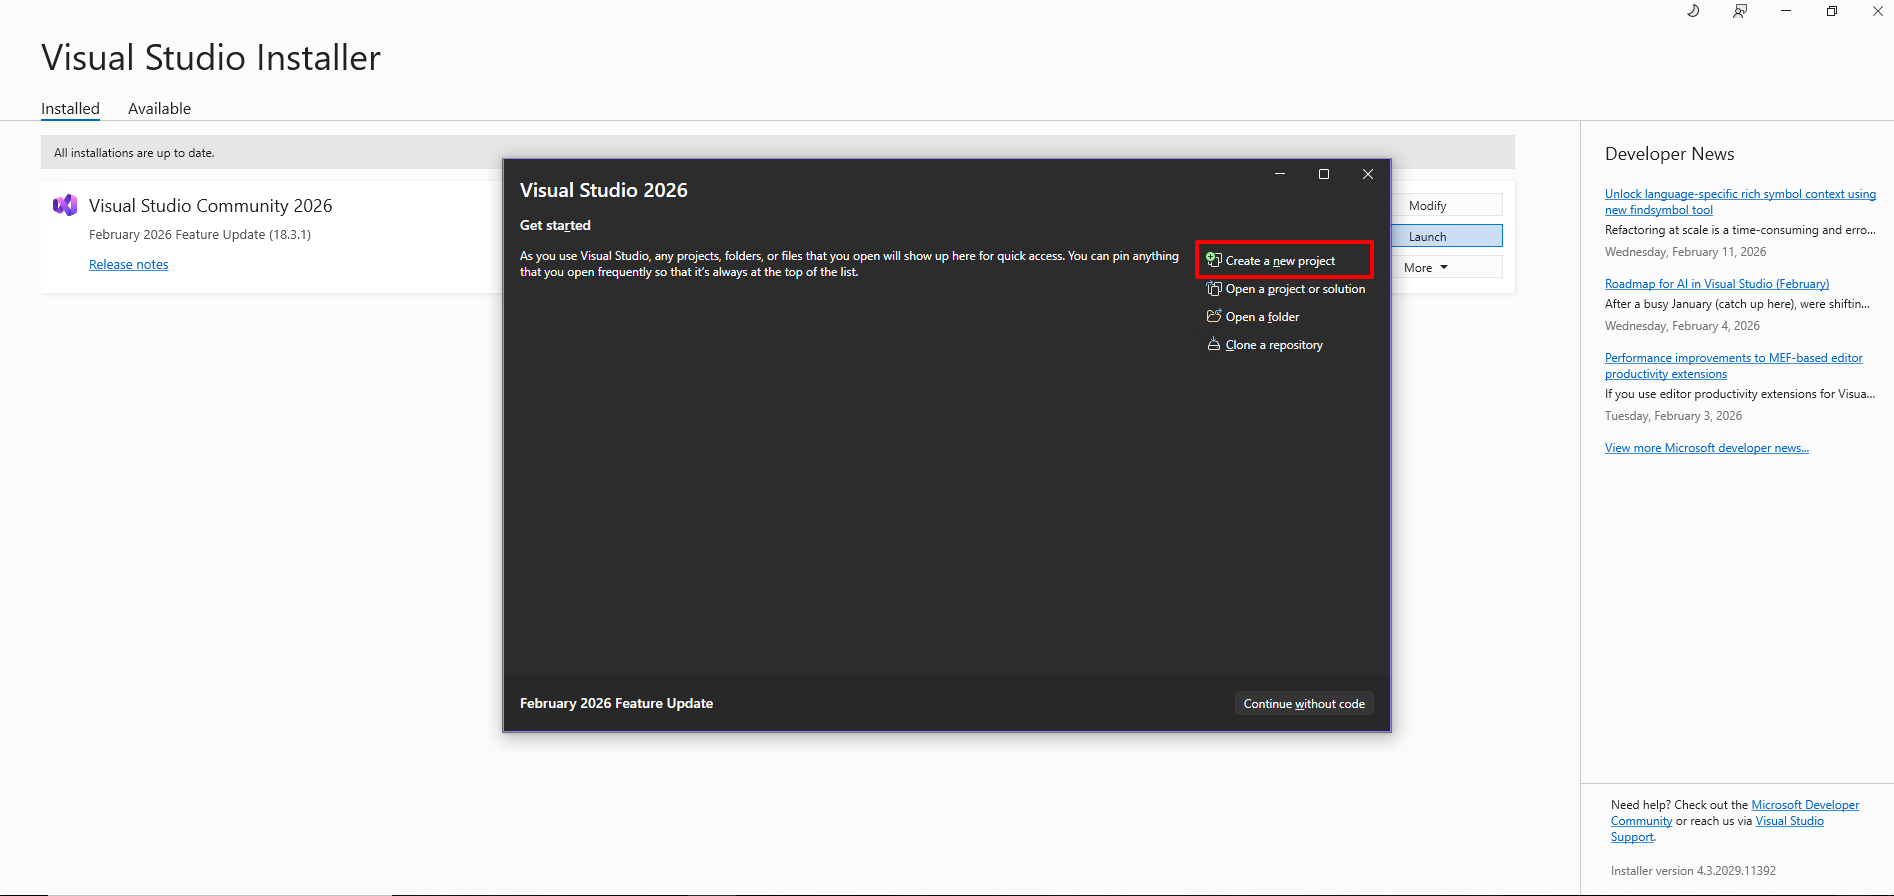
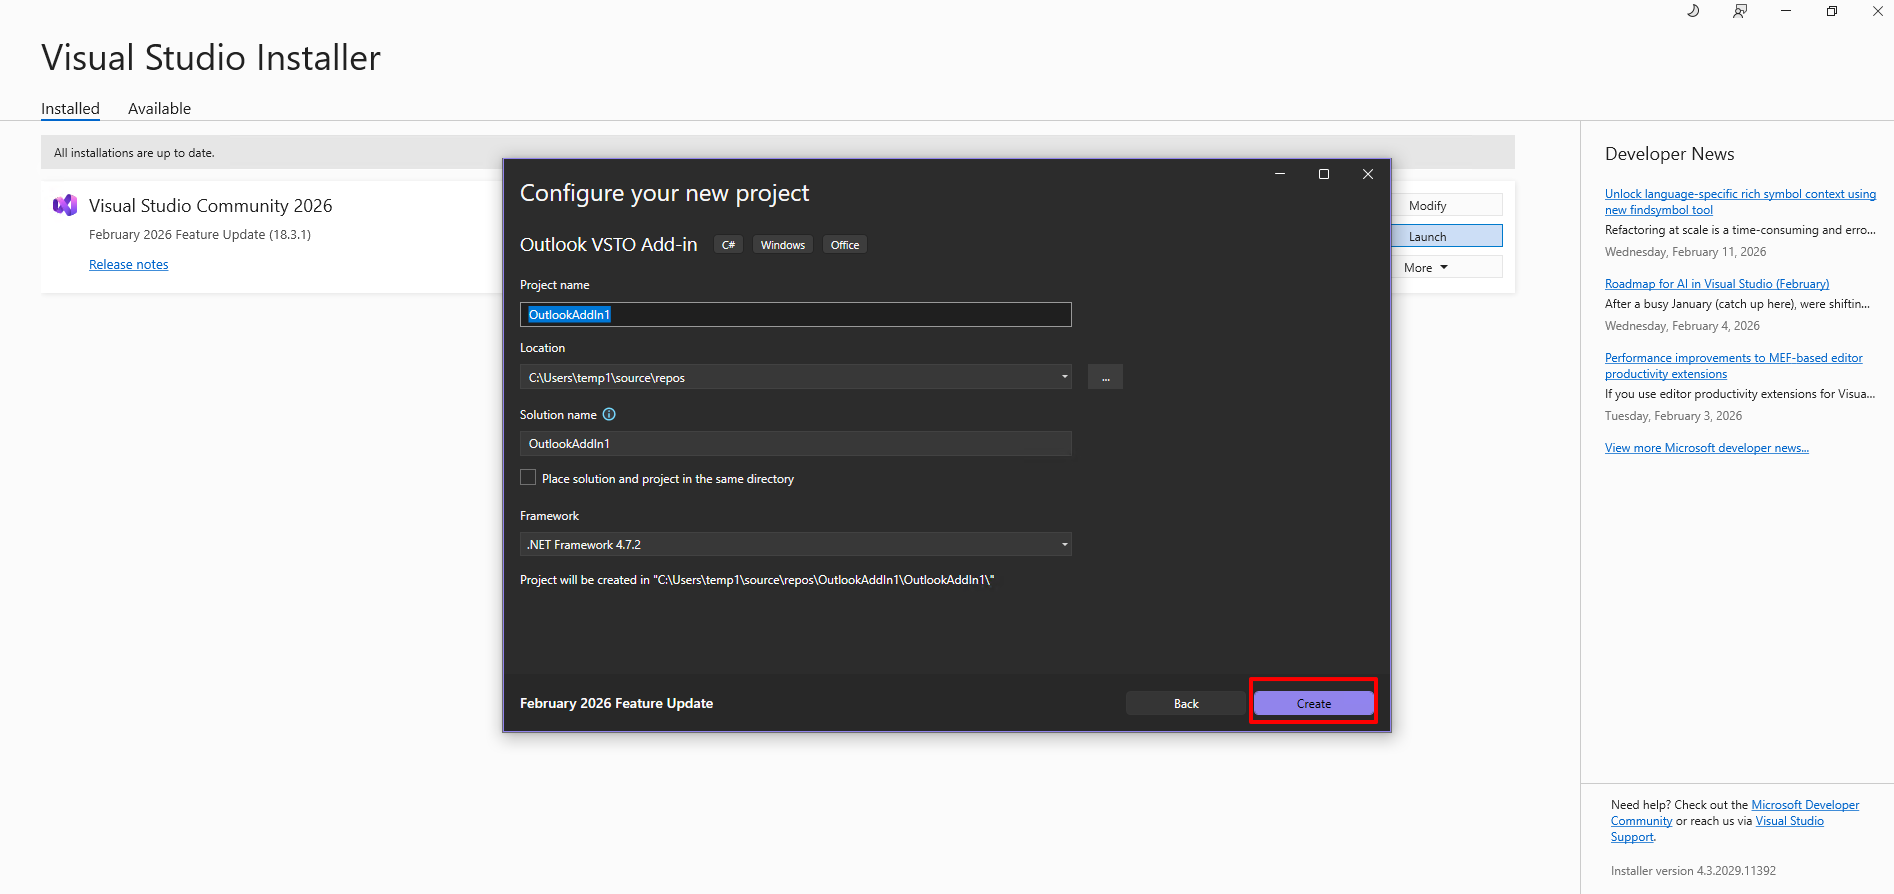
Create new project
Search “outlook” and select “Outlook VSTO Add-ins”
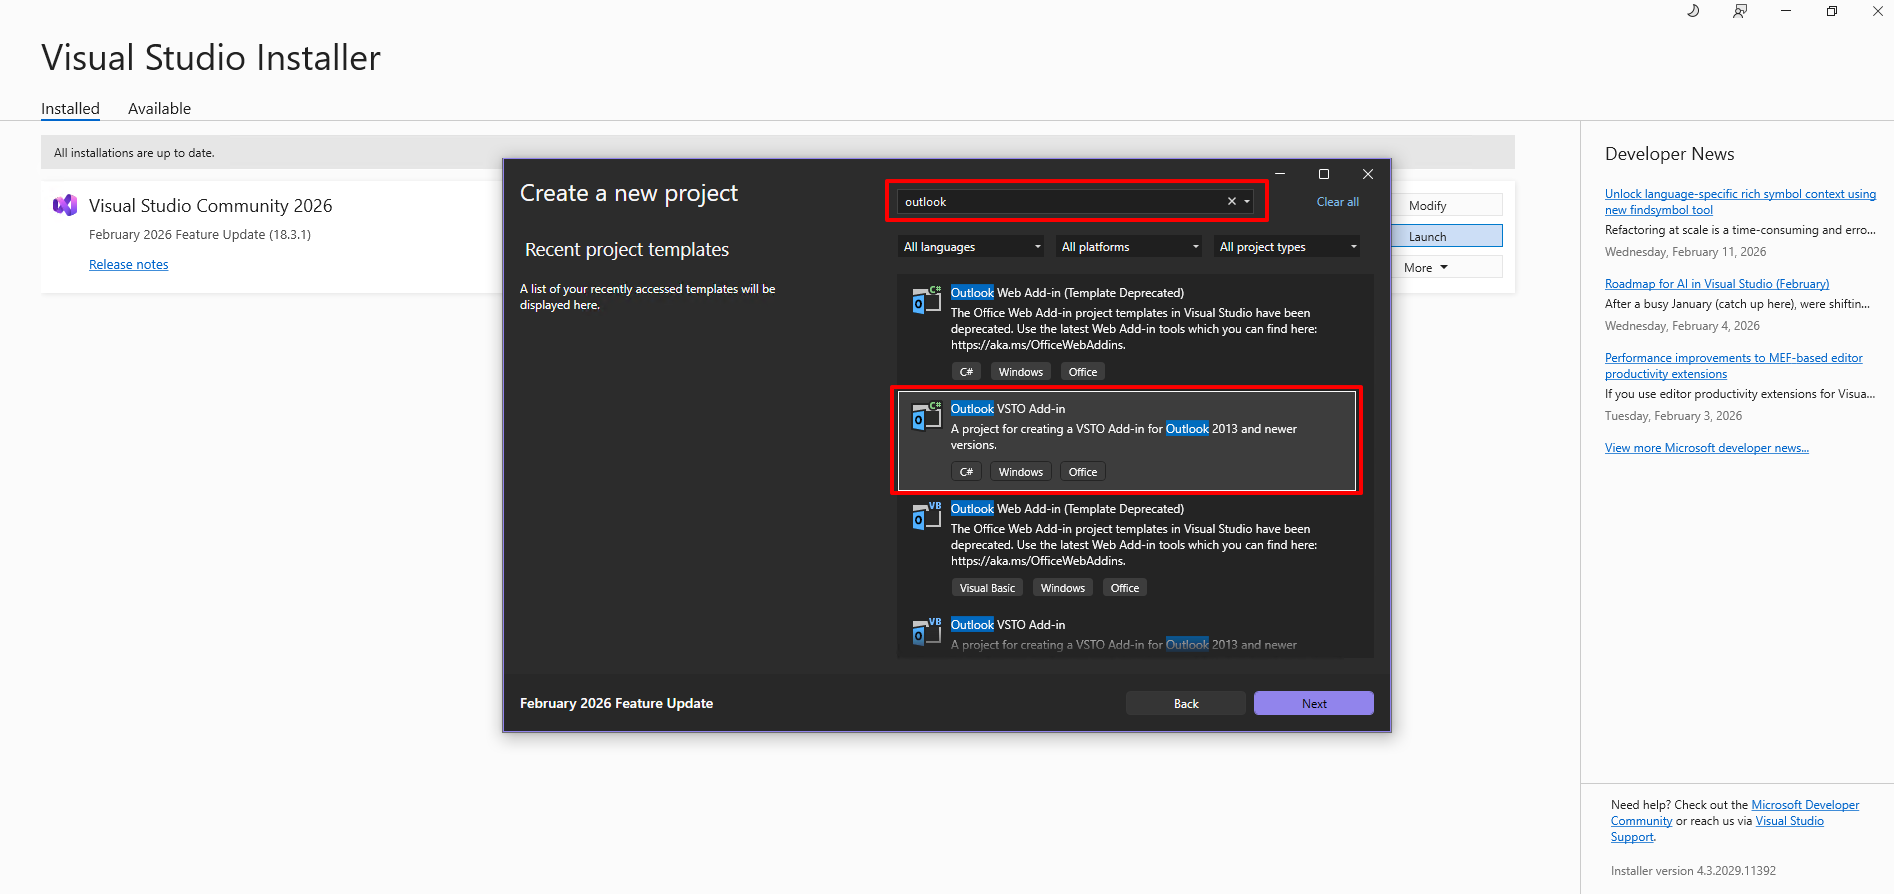
Create
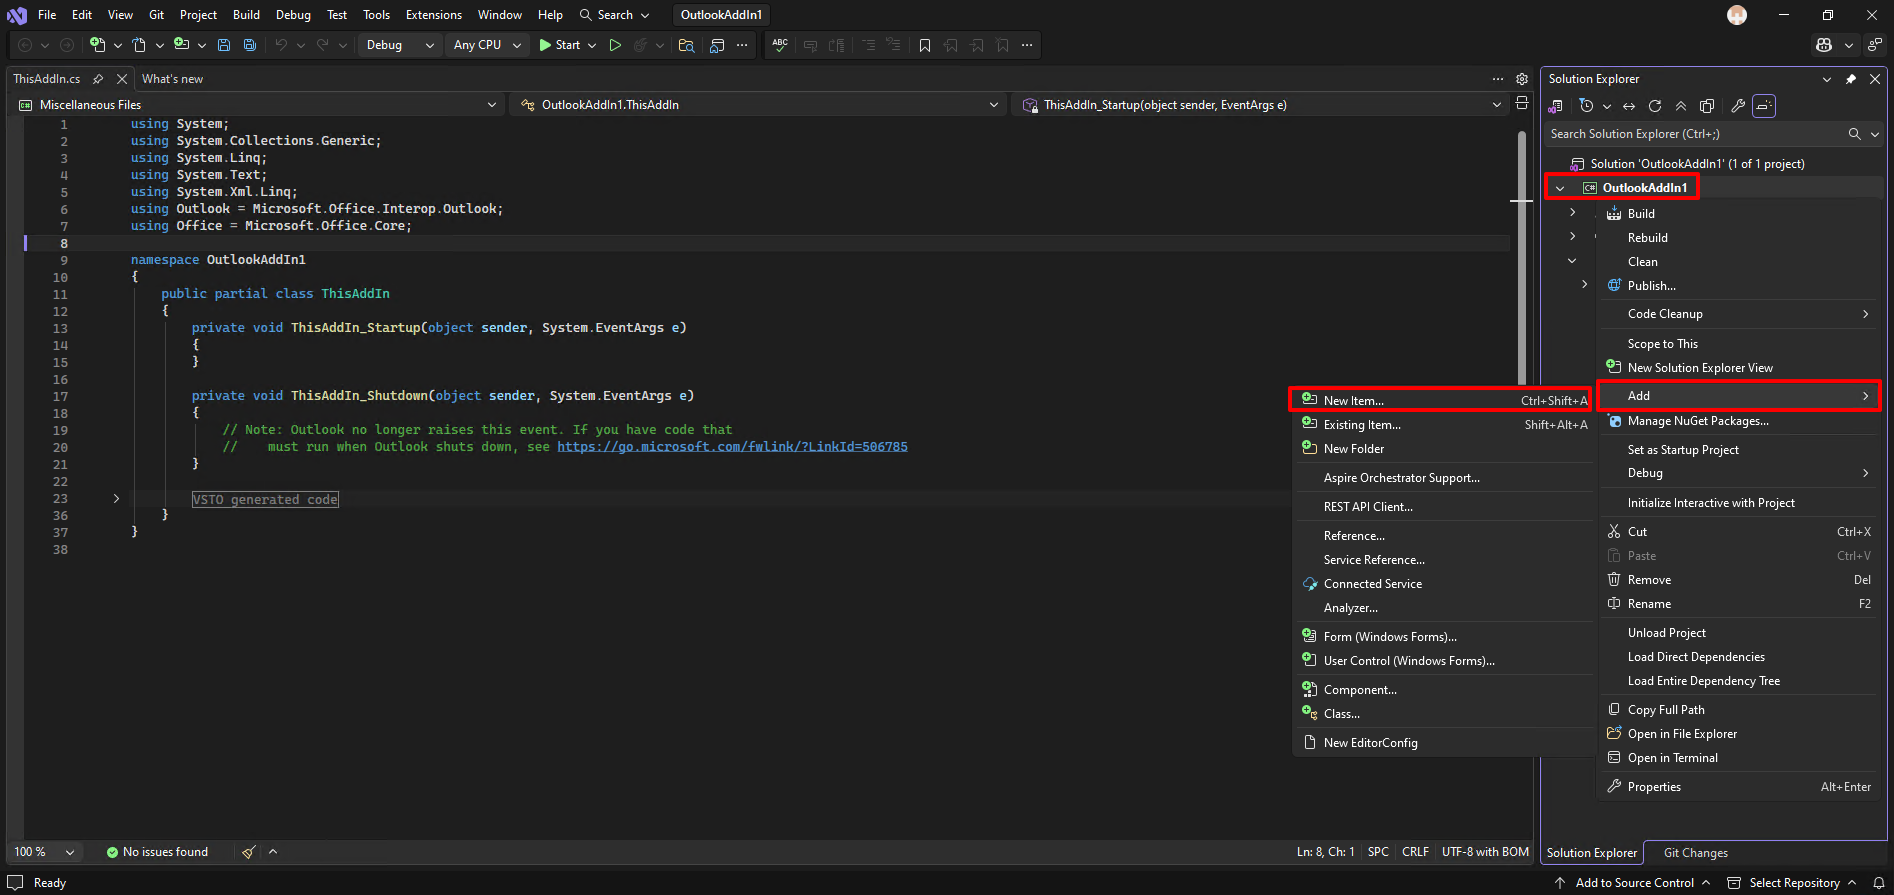
From the top of the project name, right click and add New item.
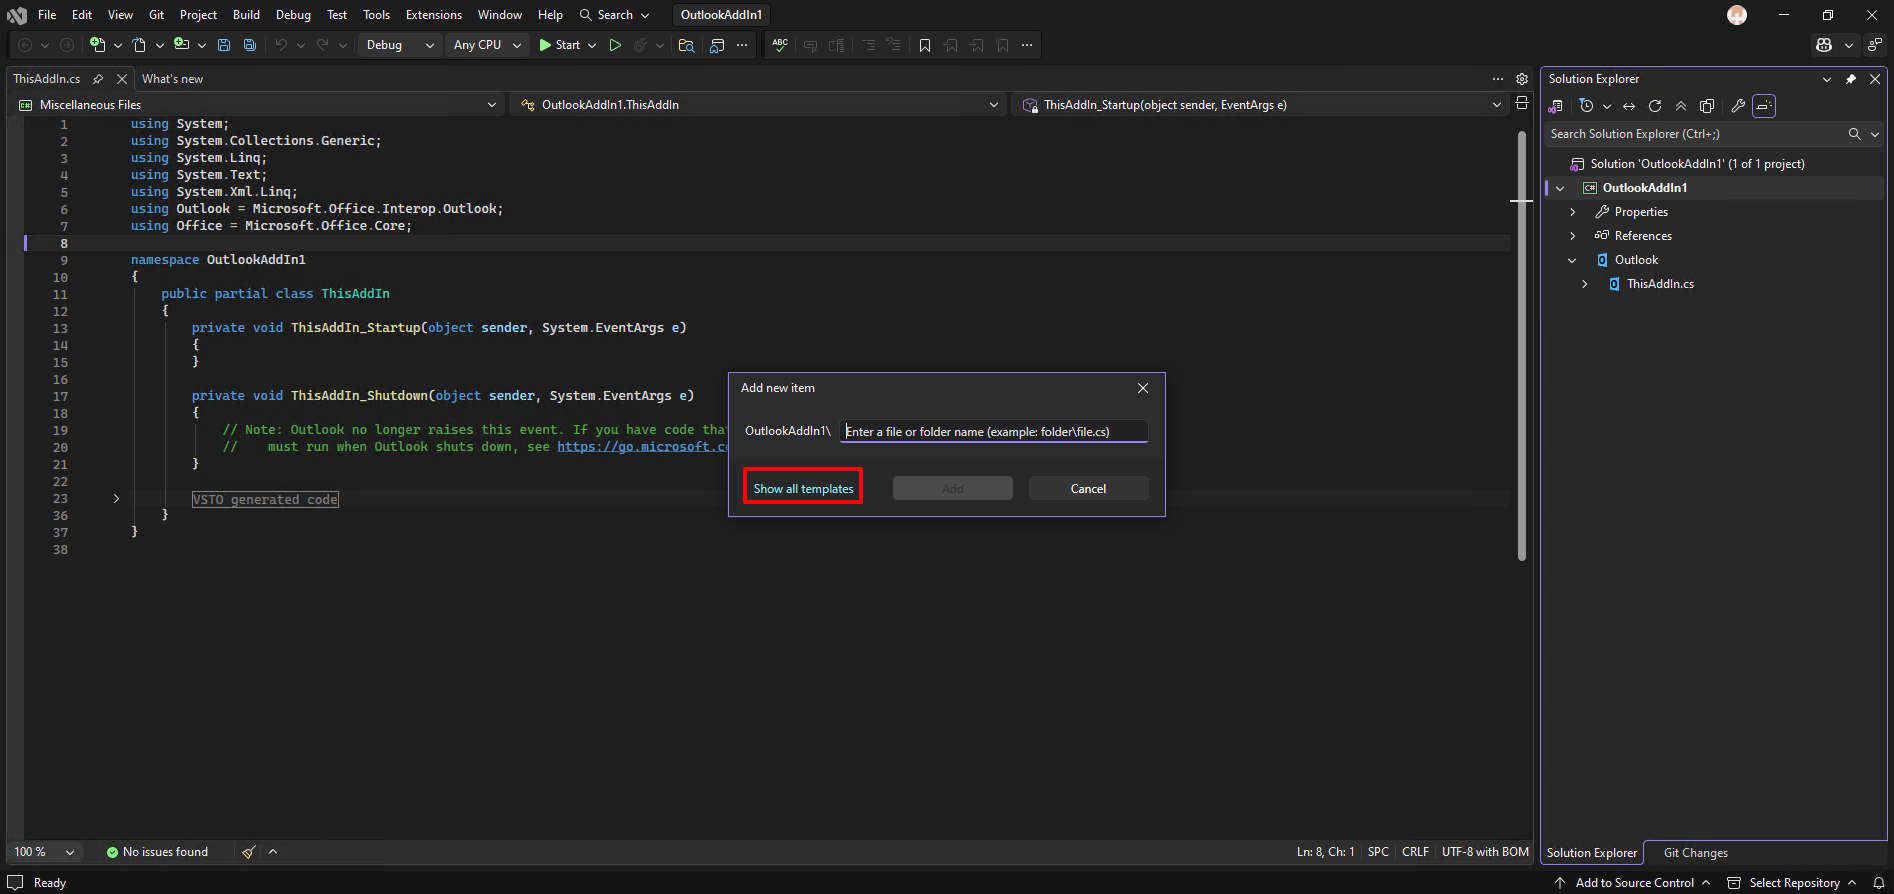
Show all templates
Find Ribbon(Visual Designer)
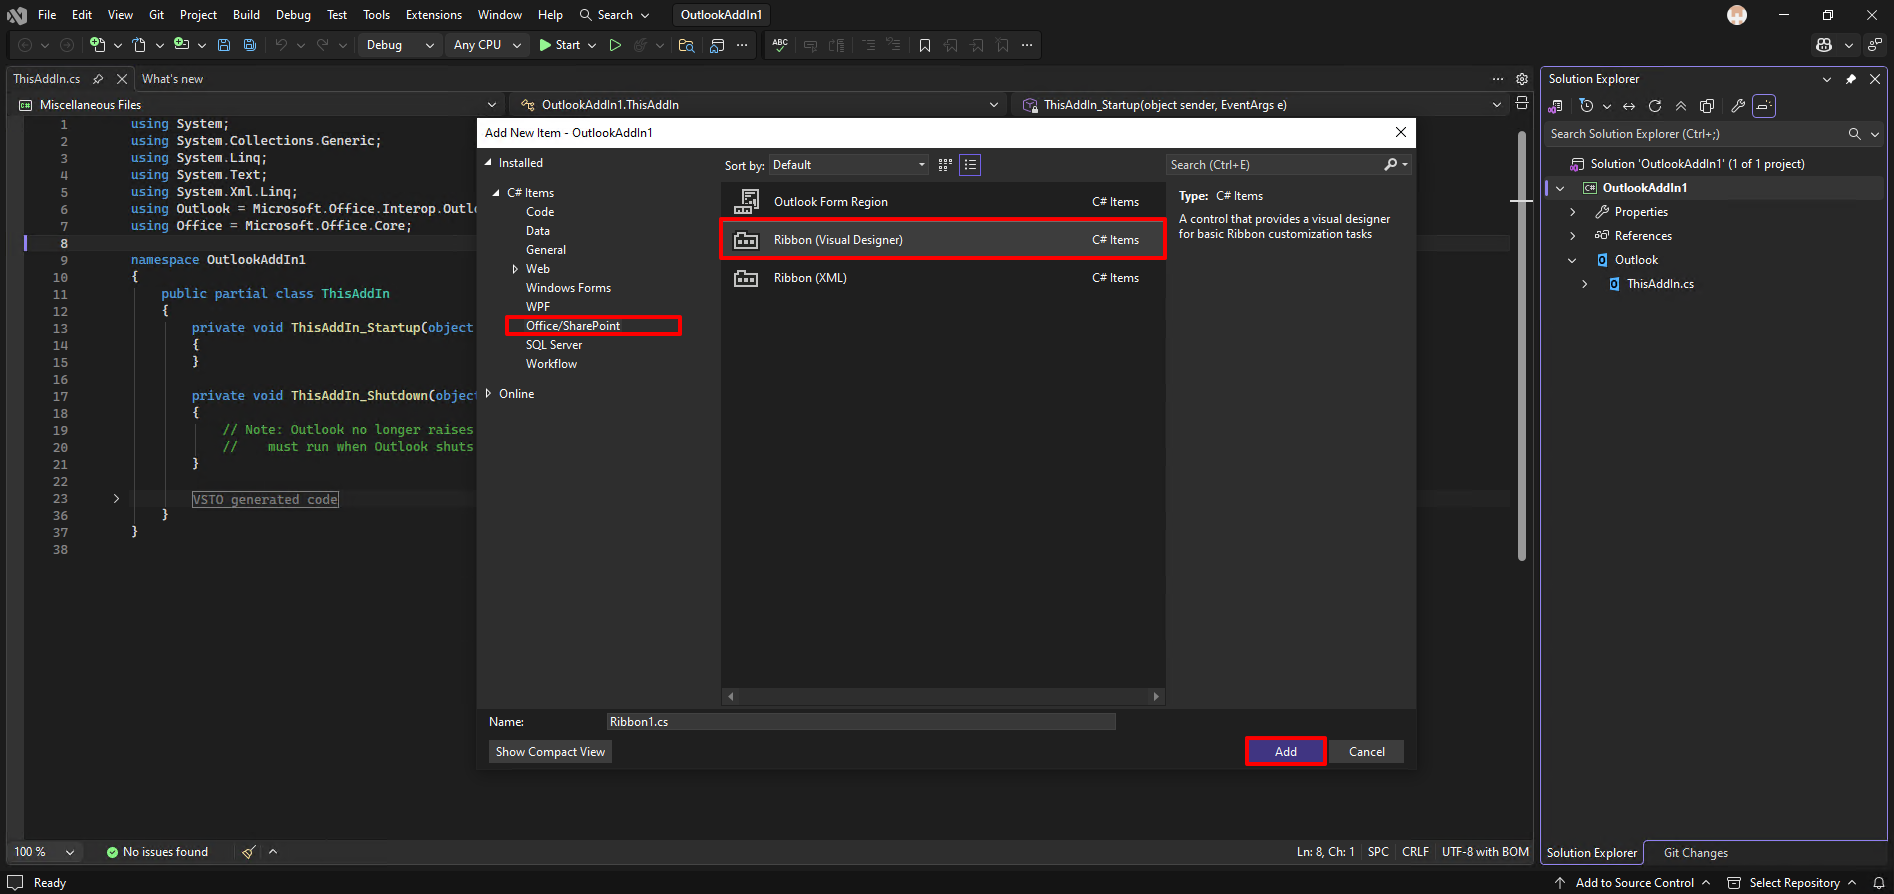
Once you add new item with the template, you can see the similar one with the outlook ribbon.
This is a visual editor as the template describes.
On the Ribbon1, right click and select Properties.
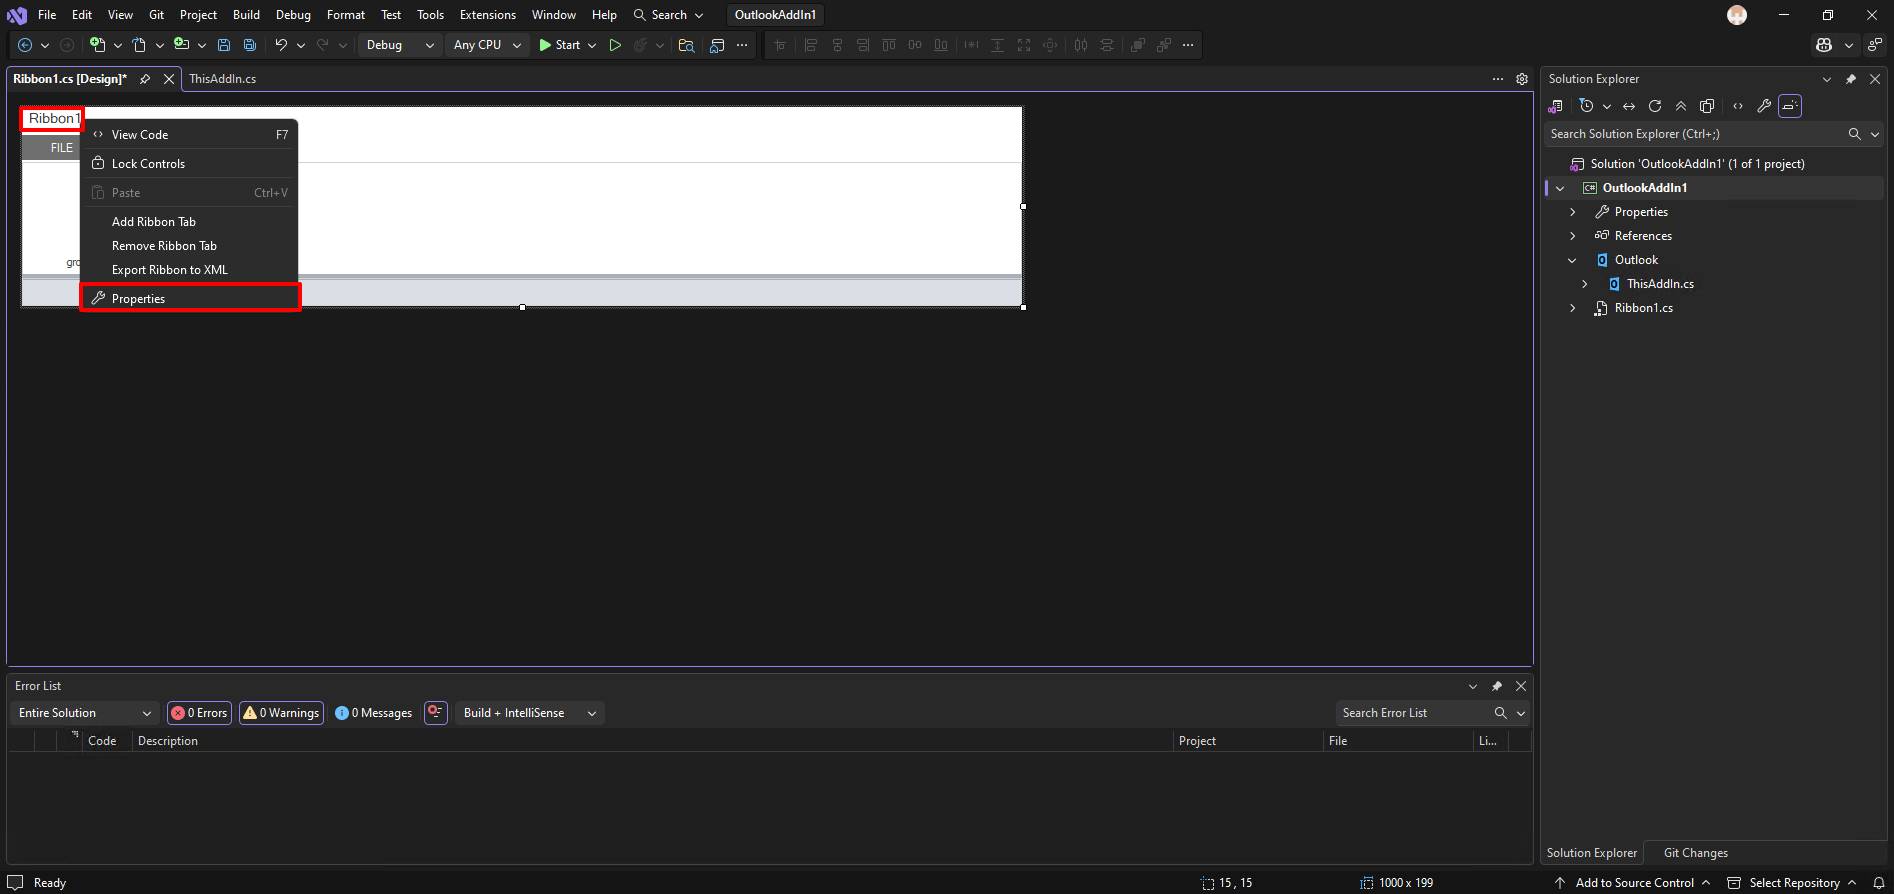
And select the Ribbon type as “Microsoft.Outlook.Explorer” which means the custom ribbon will be located in the what I called “home” in the outlook. The default ribbon when you open the outlook.
You can also set the ribbon only when you compose email or something elsewhere. Please search it from the Microsoft document.
https://learn.microsoft.com/en-us/visualstudio/vsto/customizing-a-ribbon-for-outlook?view=visualstudio&tabs=csharp

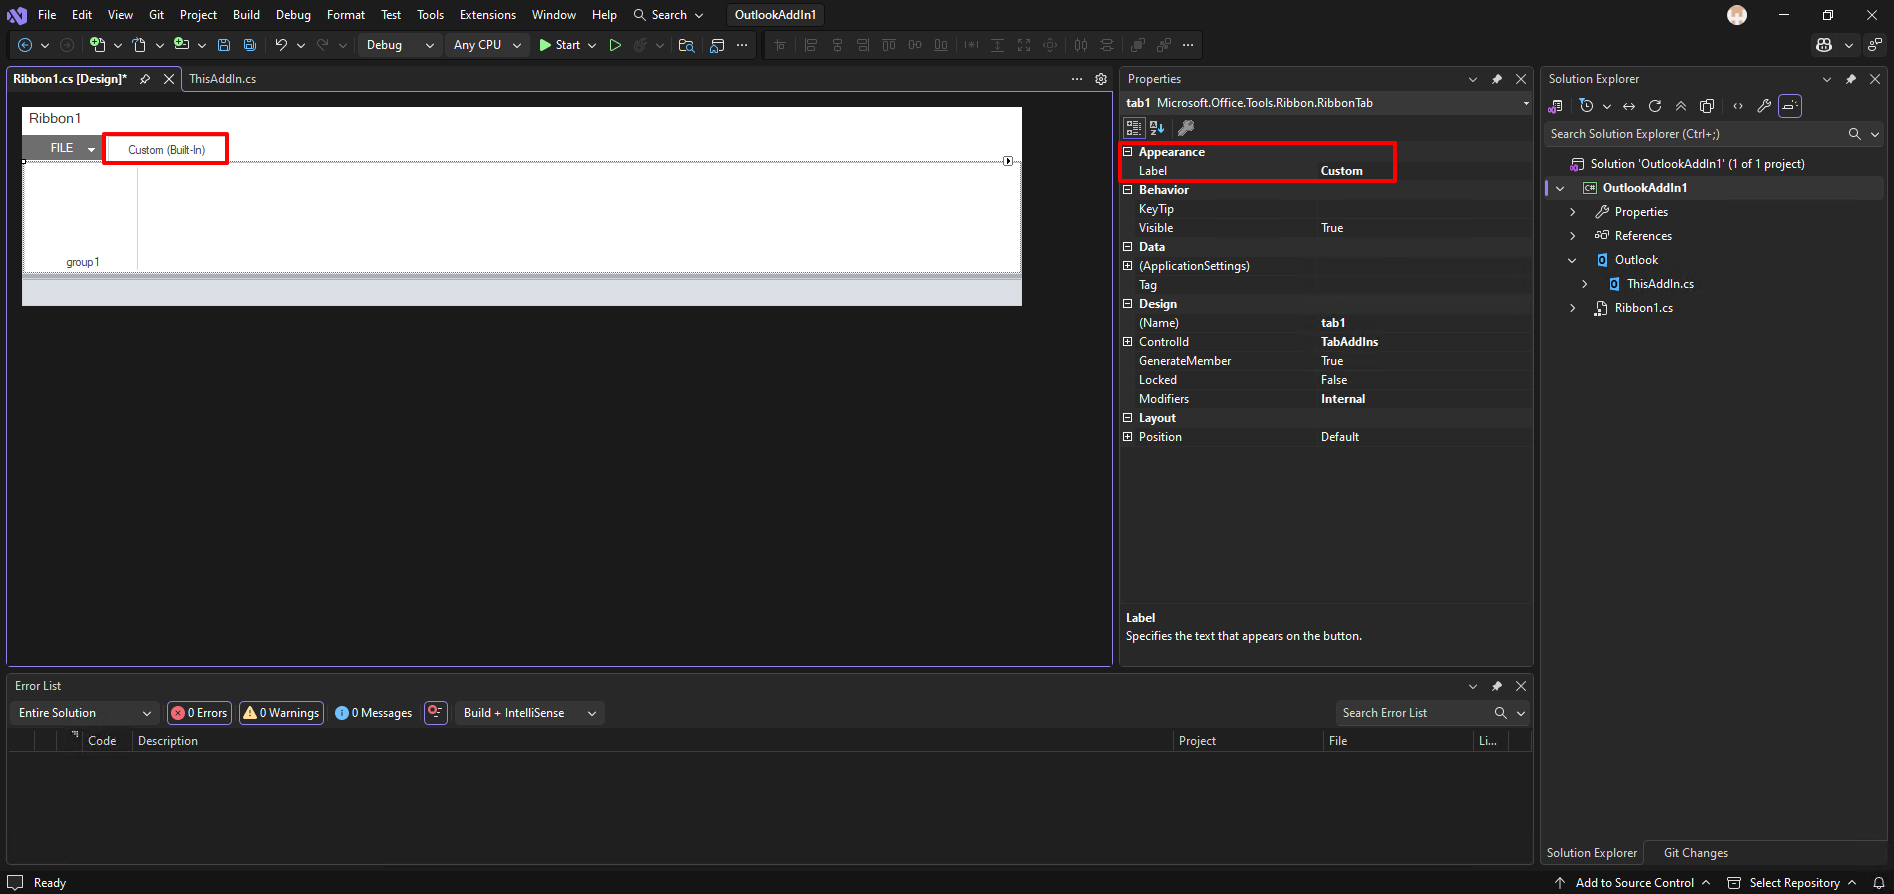
Set a tab name
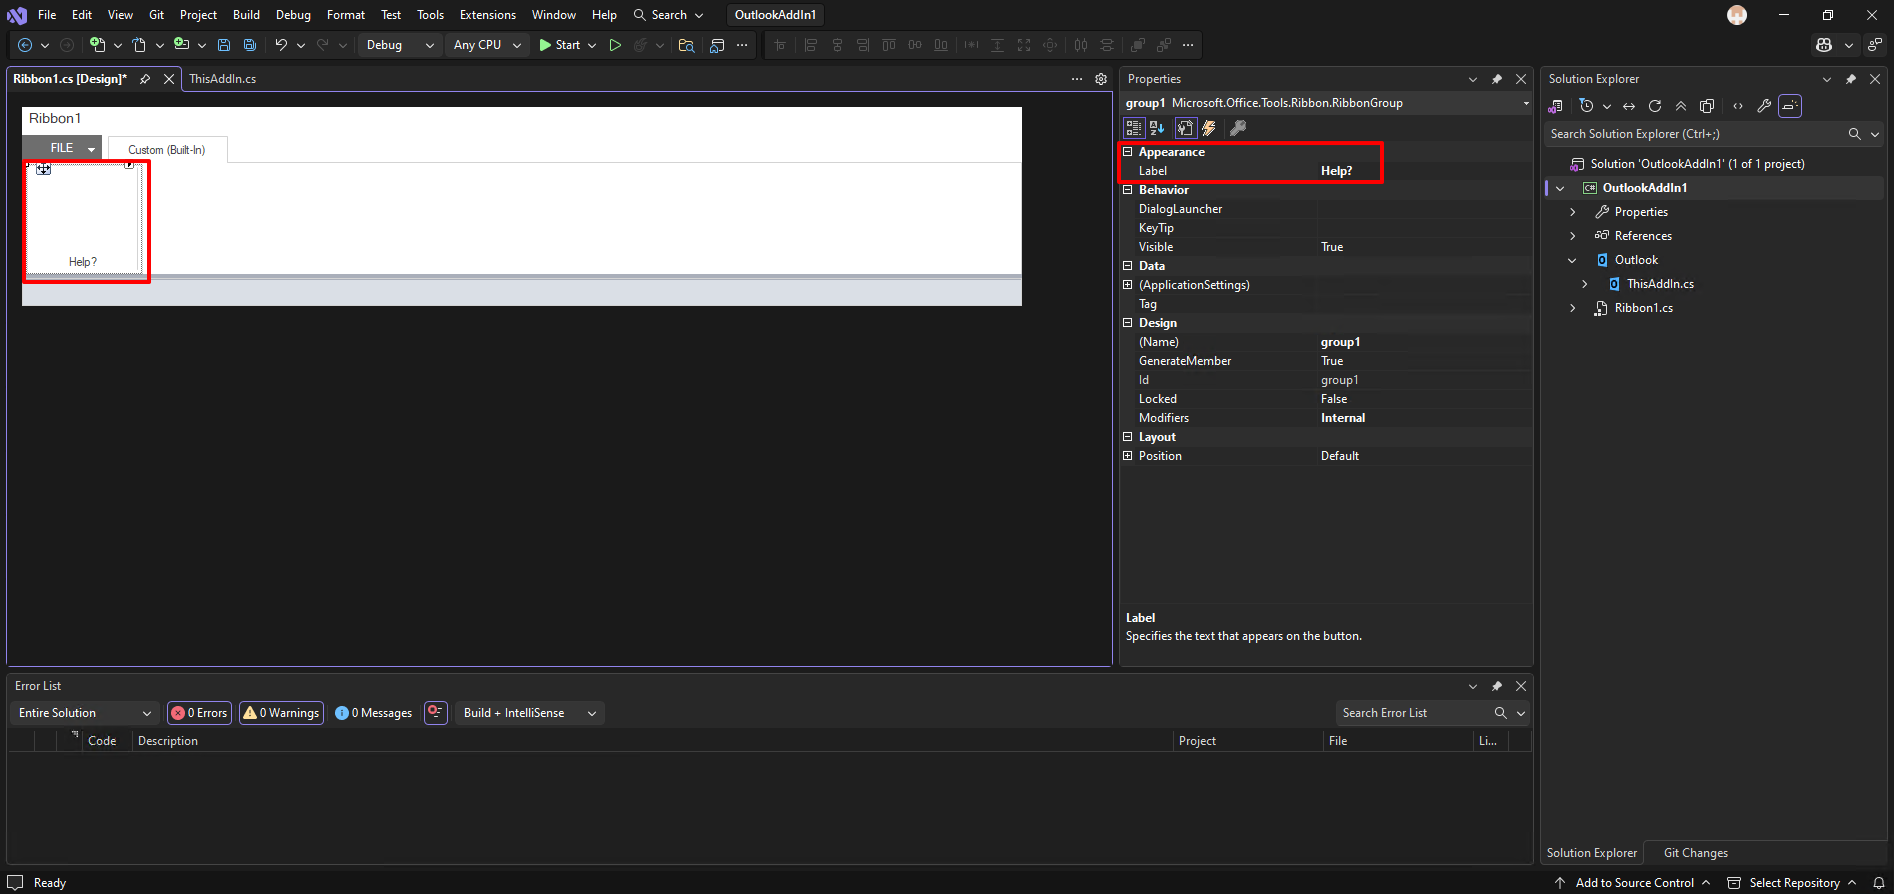
Set a group name
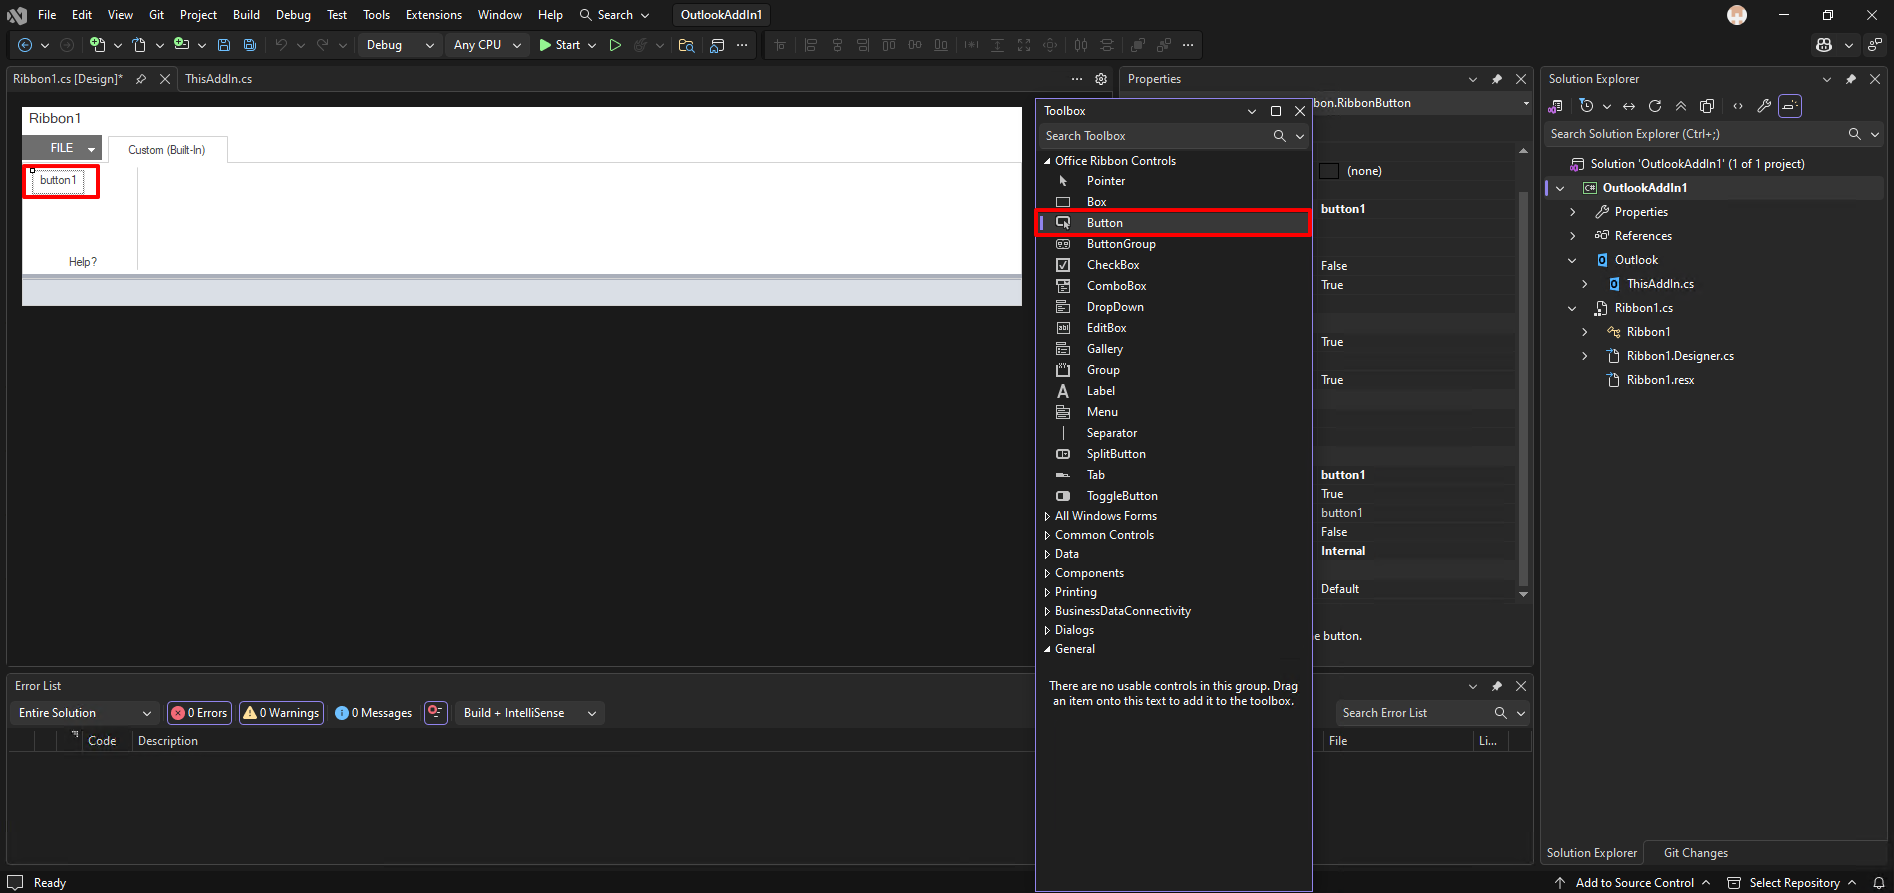
From the “veiw”, open the “tool box”
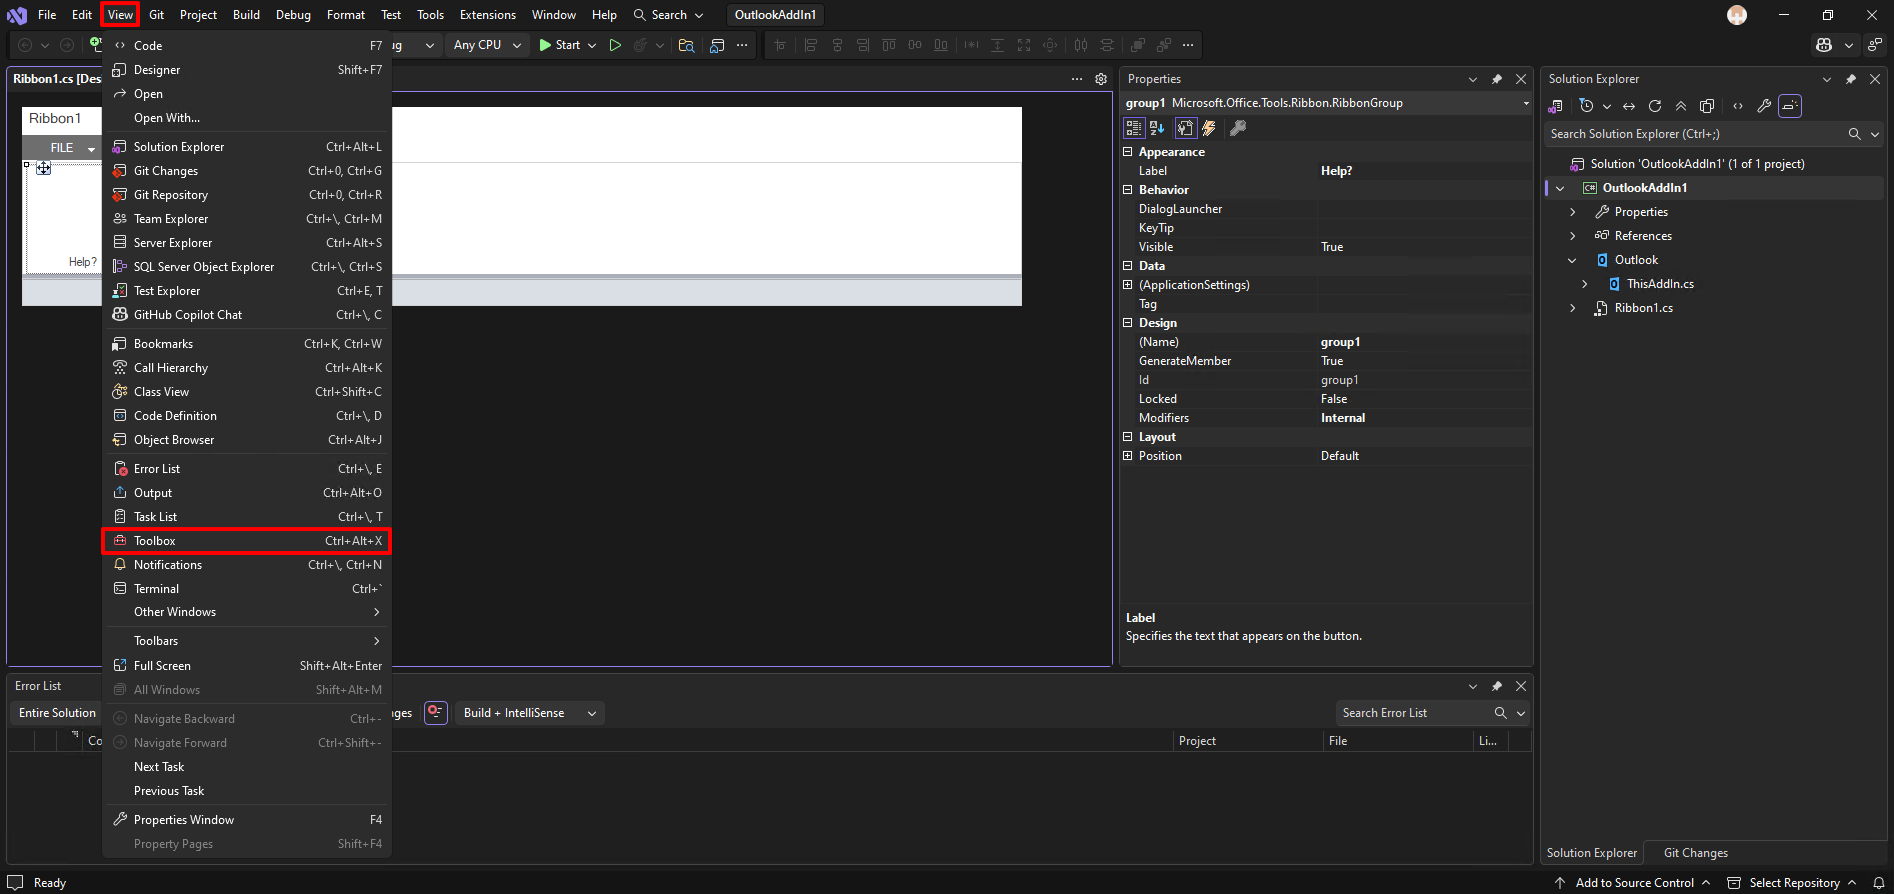
Drag “button” and drop to the “Help?(group)”
Customize the button. Set the image and button name.
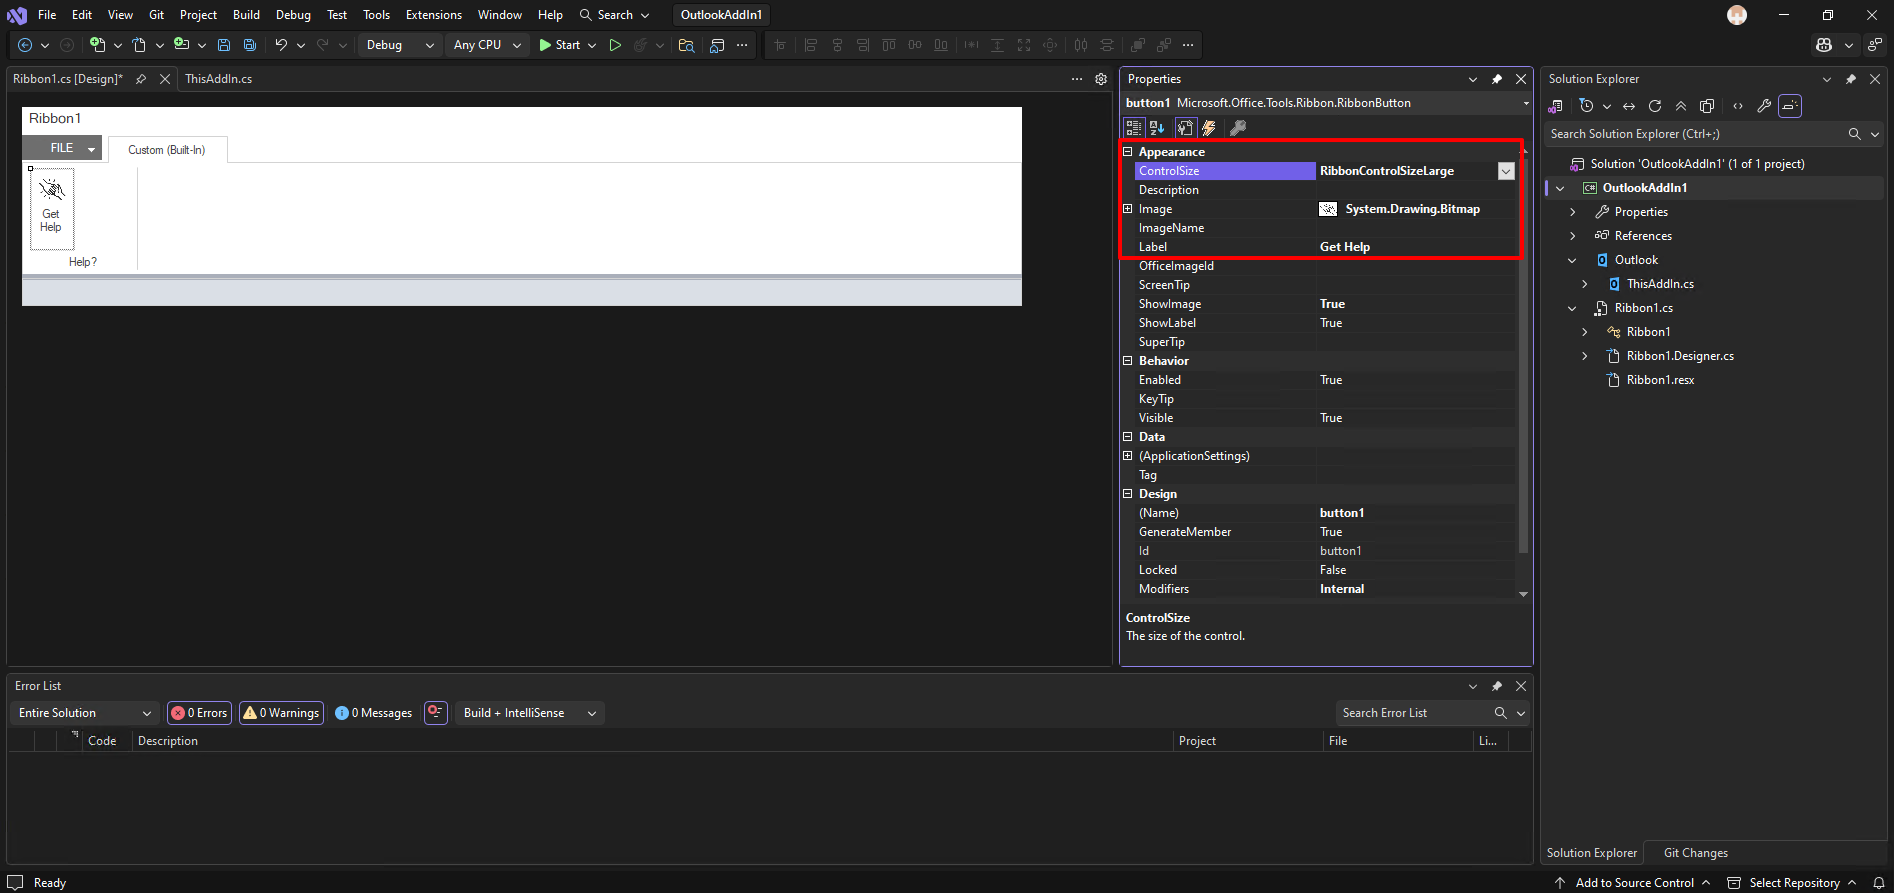
If you double click the button, you can define the action.
In this case, I will just open the website using the system default browser.
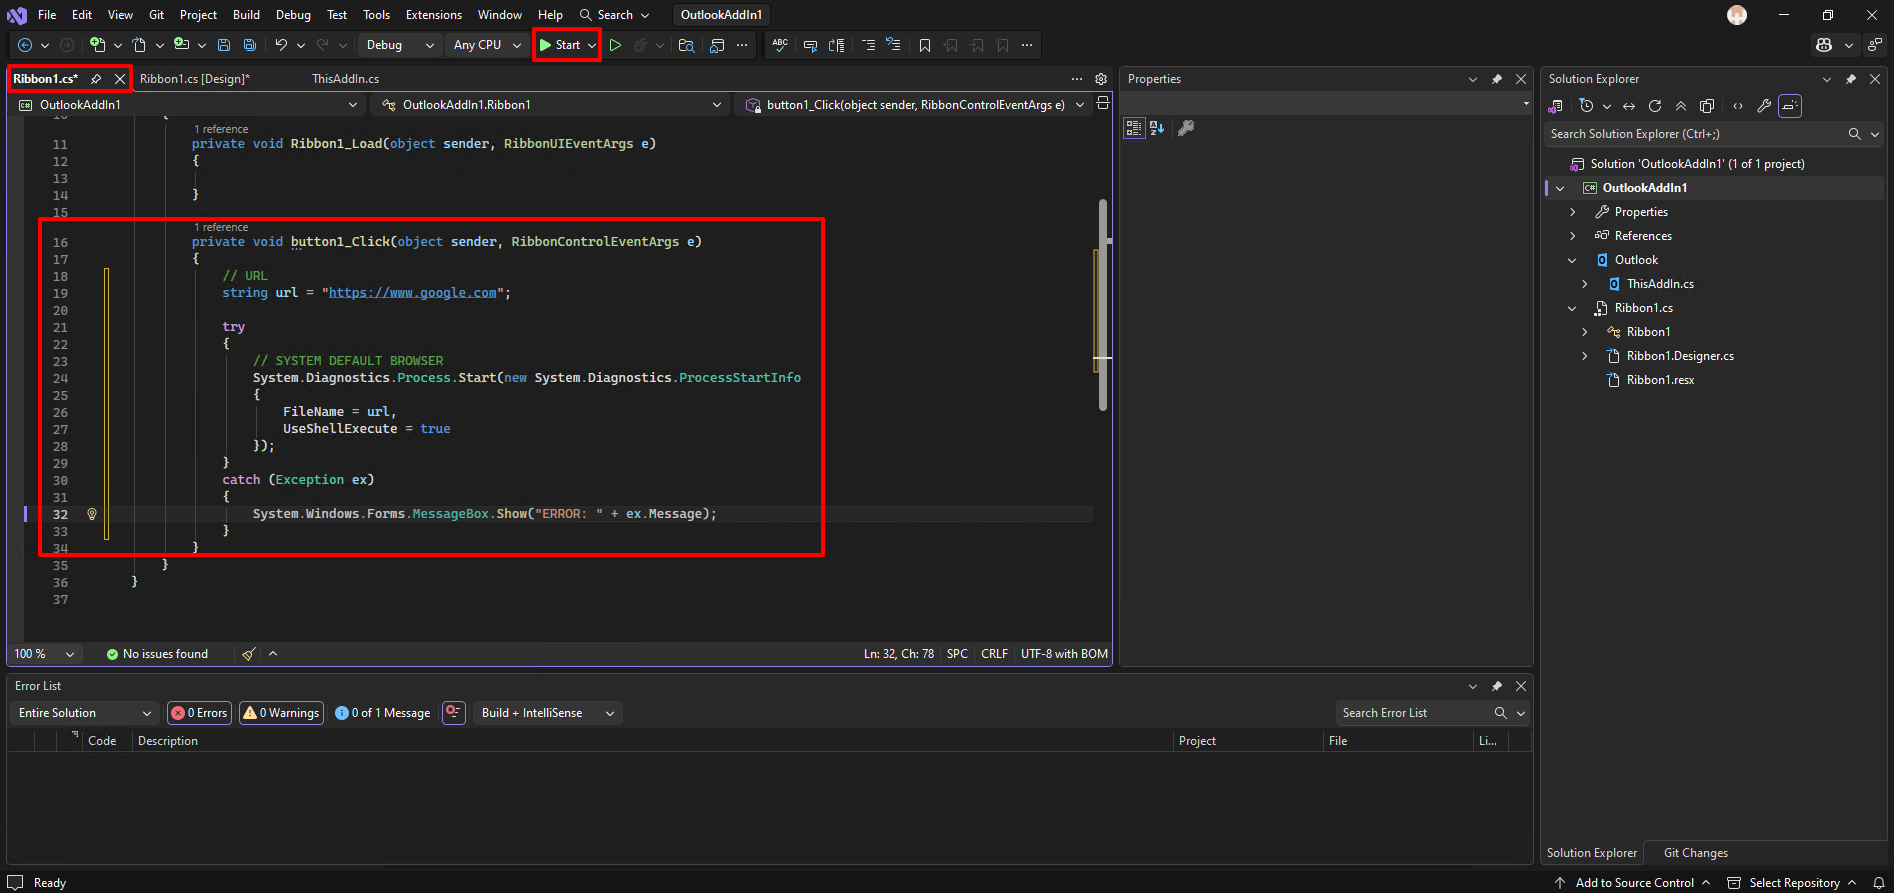 Here is the whole code:
//Ribbon1.cs
using Microsoft.Office.Tools.Ribbon;
using System;
using System.Collections.Generic;
using System.Linq;
using System.Text;

namespace OutlookAddIn1
{
    public partial class Ribbon1
    {
        private void Ribbon1_Load(object sender, RibbonUIEventArgs e)
        {

        }

        private void button1_Click(object sender, RibbonControlEventArgs e)
        {
            // URL
            string url = "https://www.google.com";

            try
            {
                // SYSTEM DEFAULT BROWSER
                System.Diagnostics.Process.Start(new System.Diagnostics.ProcessStartInfo
                {
                    FileName = url,
                    UseShellExecute = true
                });
            }
            catch (Exception ex)
            {
                System.Windows.Forms.MessageBox.Show("ERROR: " + ex.Message);
            }
        }
    }
}
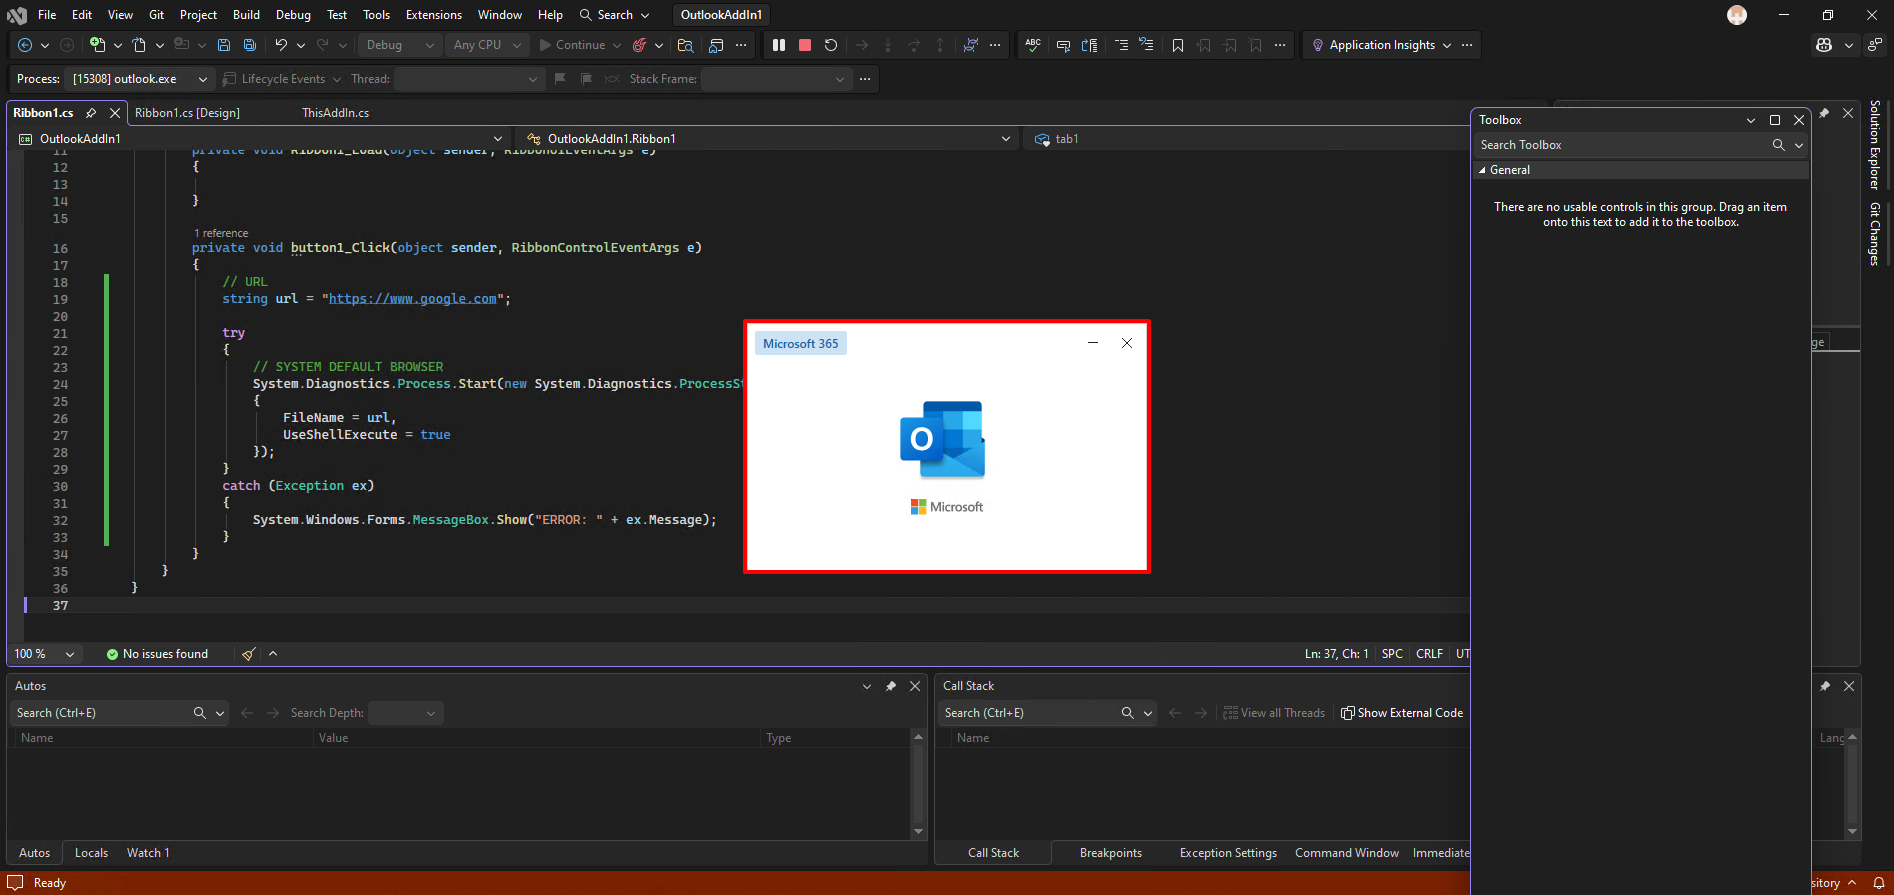
And you can start a debug if this ribbon is ready to publish or not. Press F5 or the Start button.
3. Debug and Publish
The classic outlook will be launched automatically and the temp .dll file addin.
You can see the addin we created. If the button works nomally and looks fine, close the outlook. and the debug mode will be terminated automatically as well.
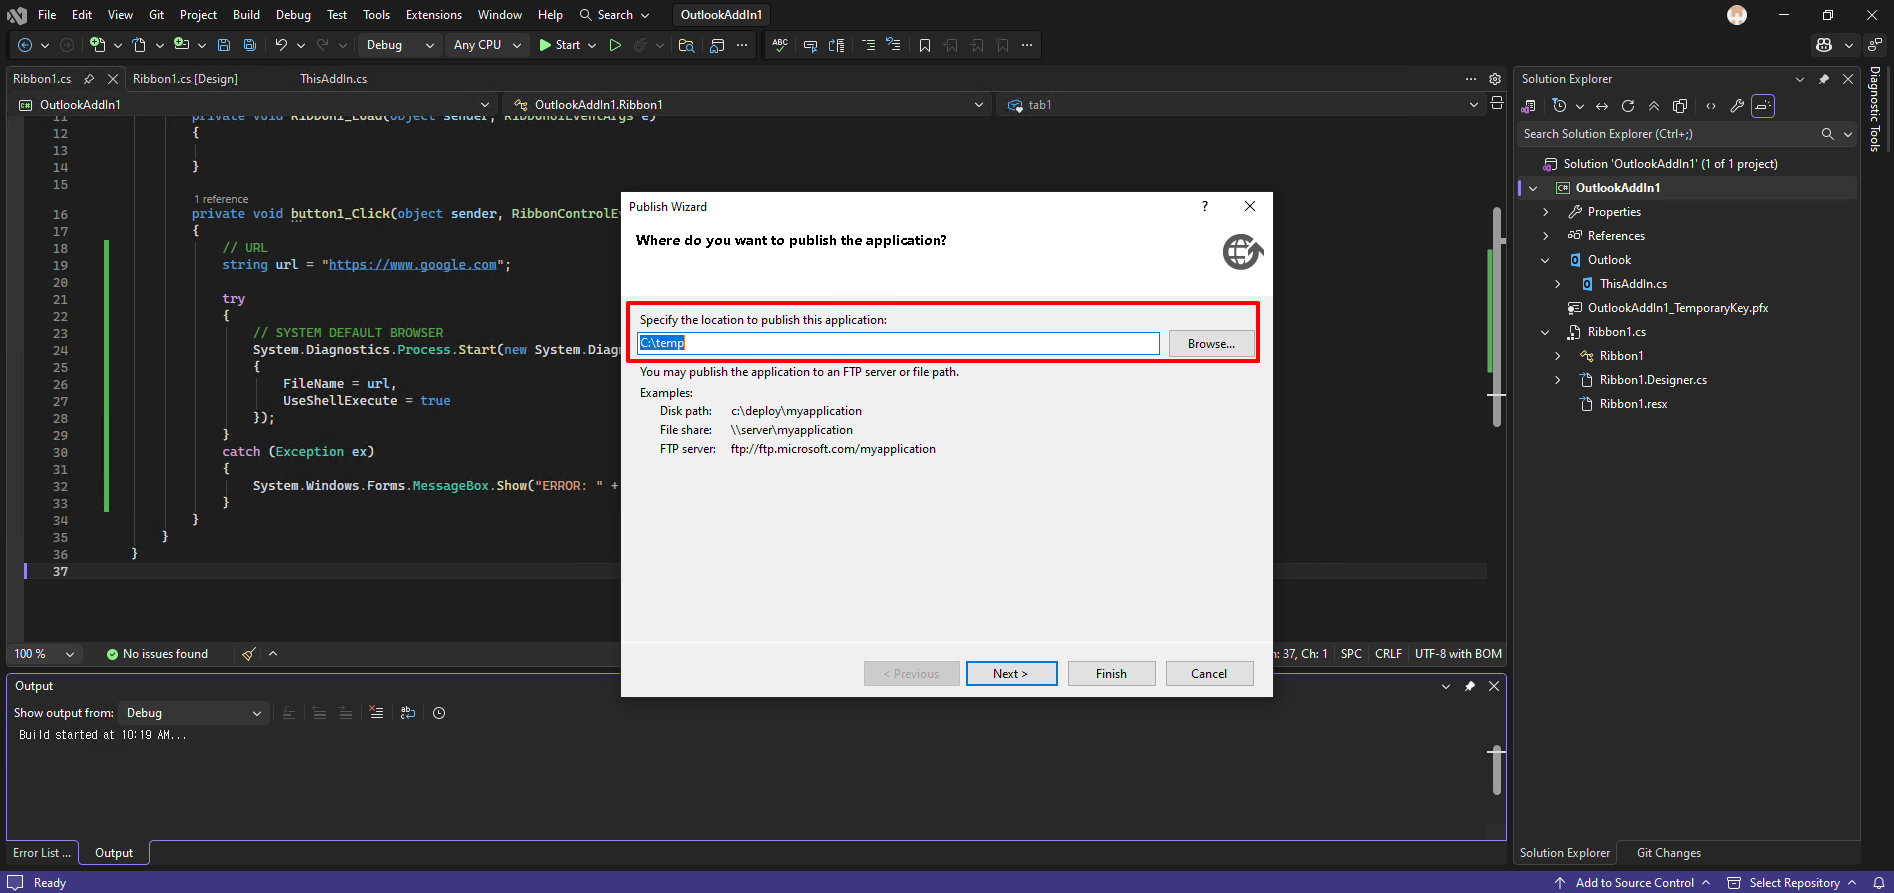
And go back to the Visual Studio. From the top of the project name, right click and select “Publish”.

Browse where you want to pulish the installation file.
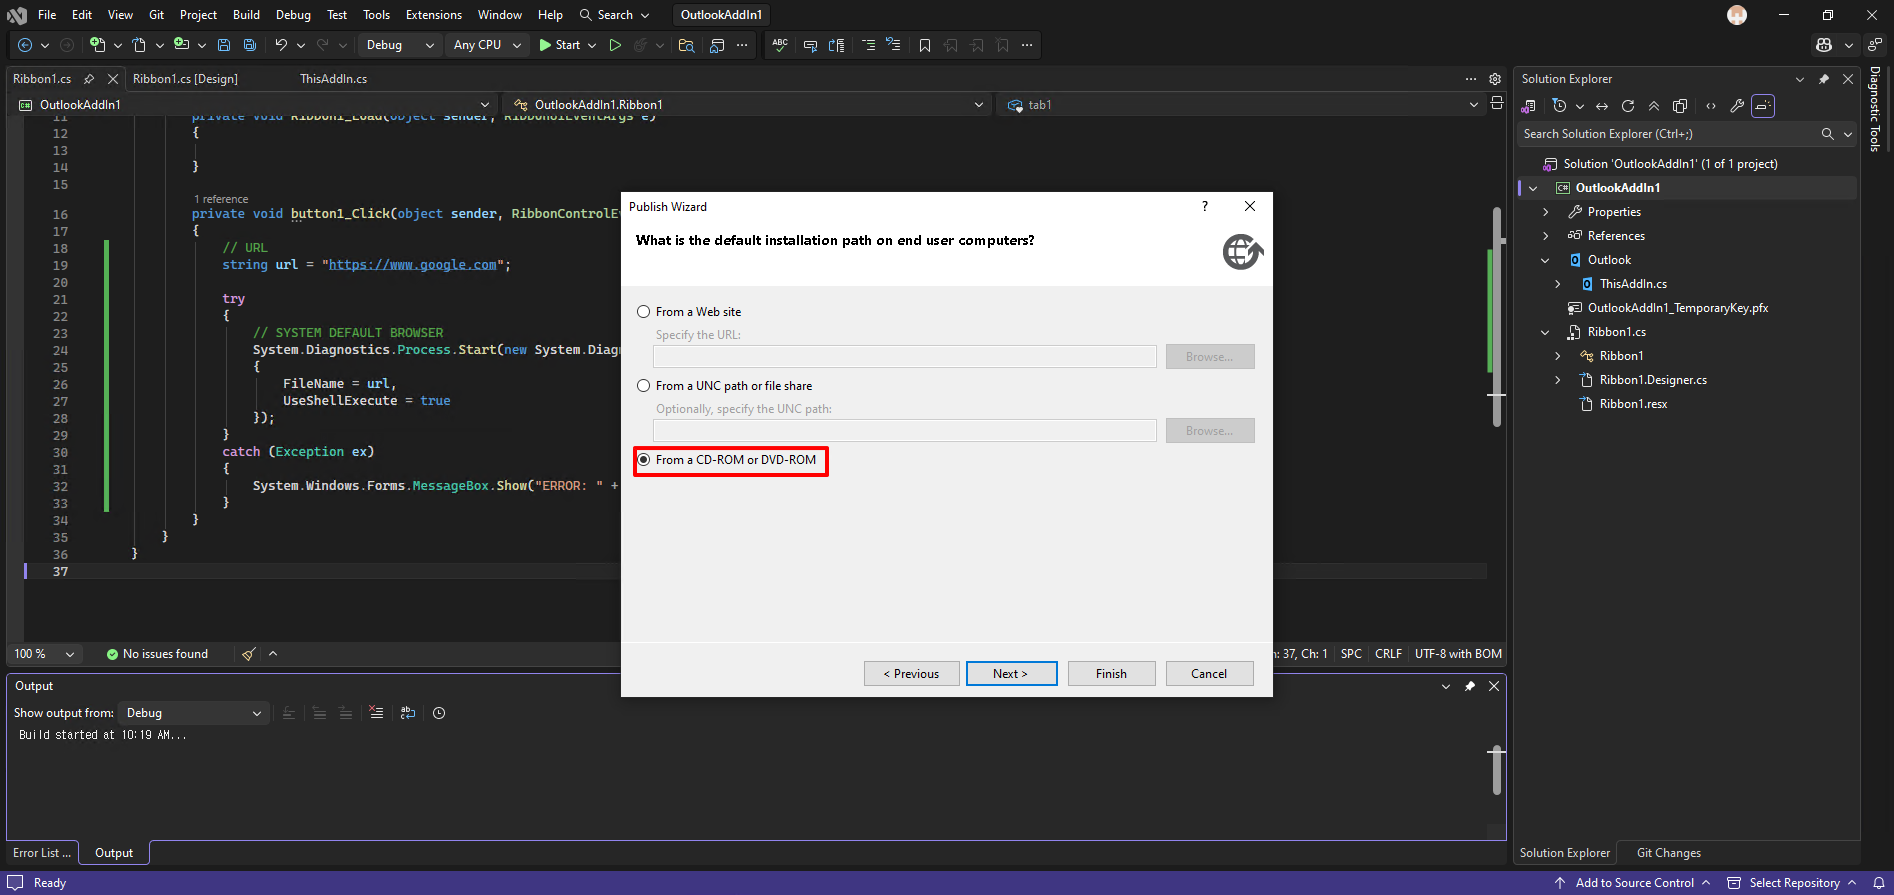
Select the last option
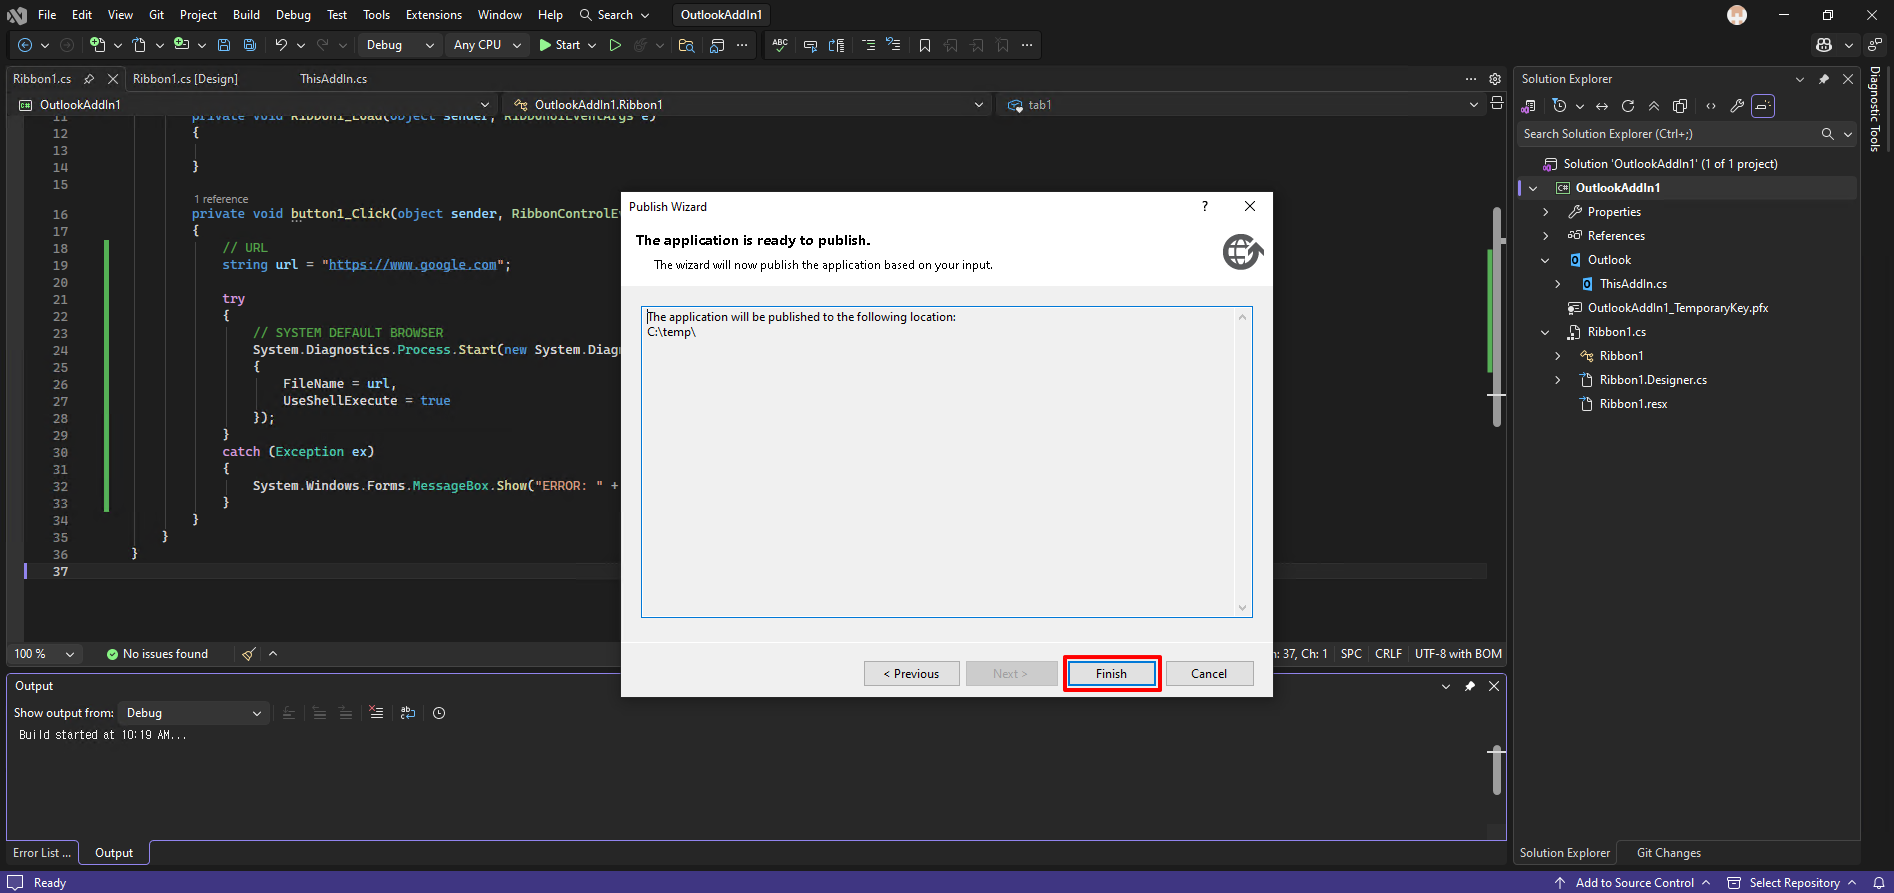
Click finish
4. Install and Results
When you finisth the publish, you can get the three things as shown in the image.
To install the custom addin, those three files has to located in the same directory.
And execute the “setup.exe”.

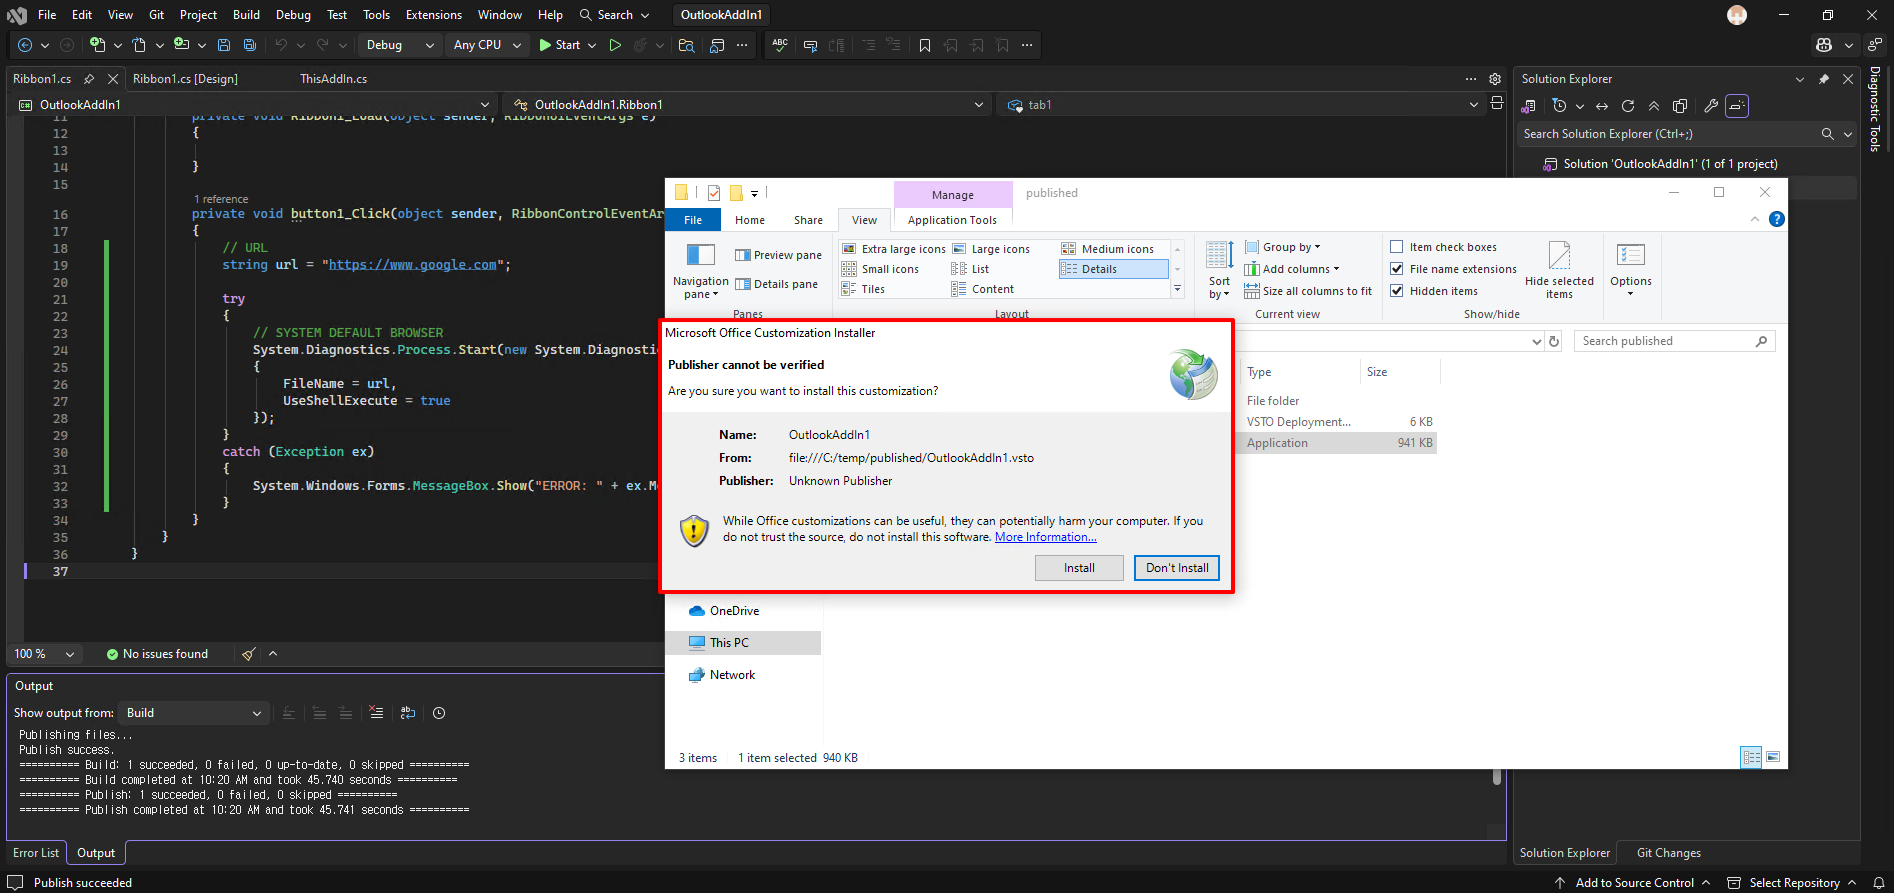
We didn’t sign the installation file, you may encounter that this is not a trusted publisher. But still you can proceed.
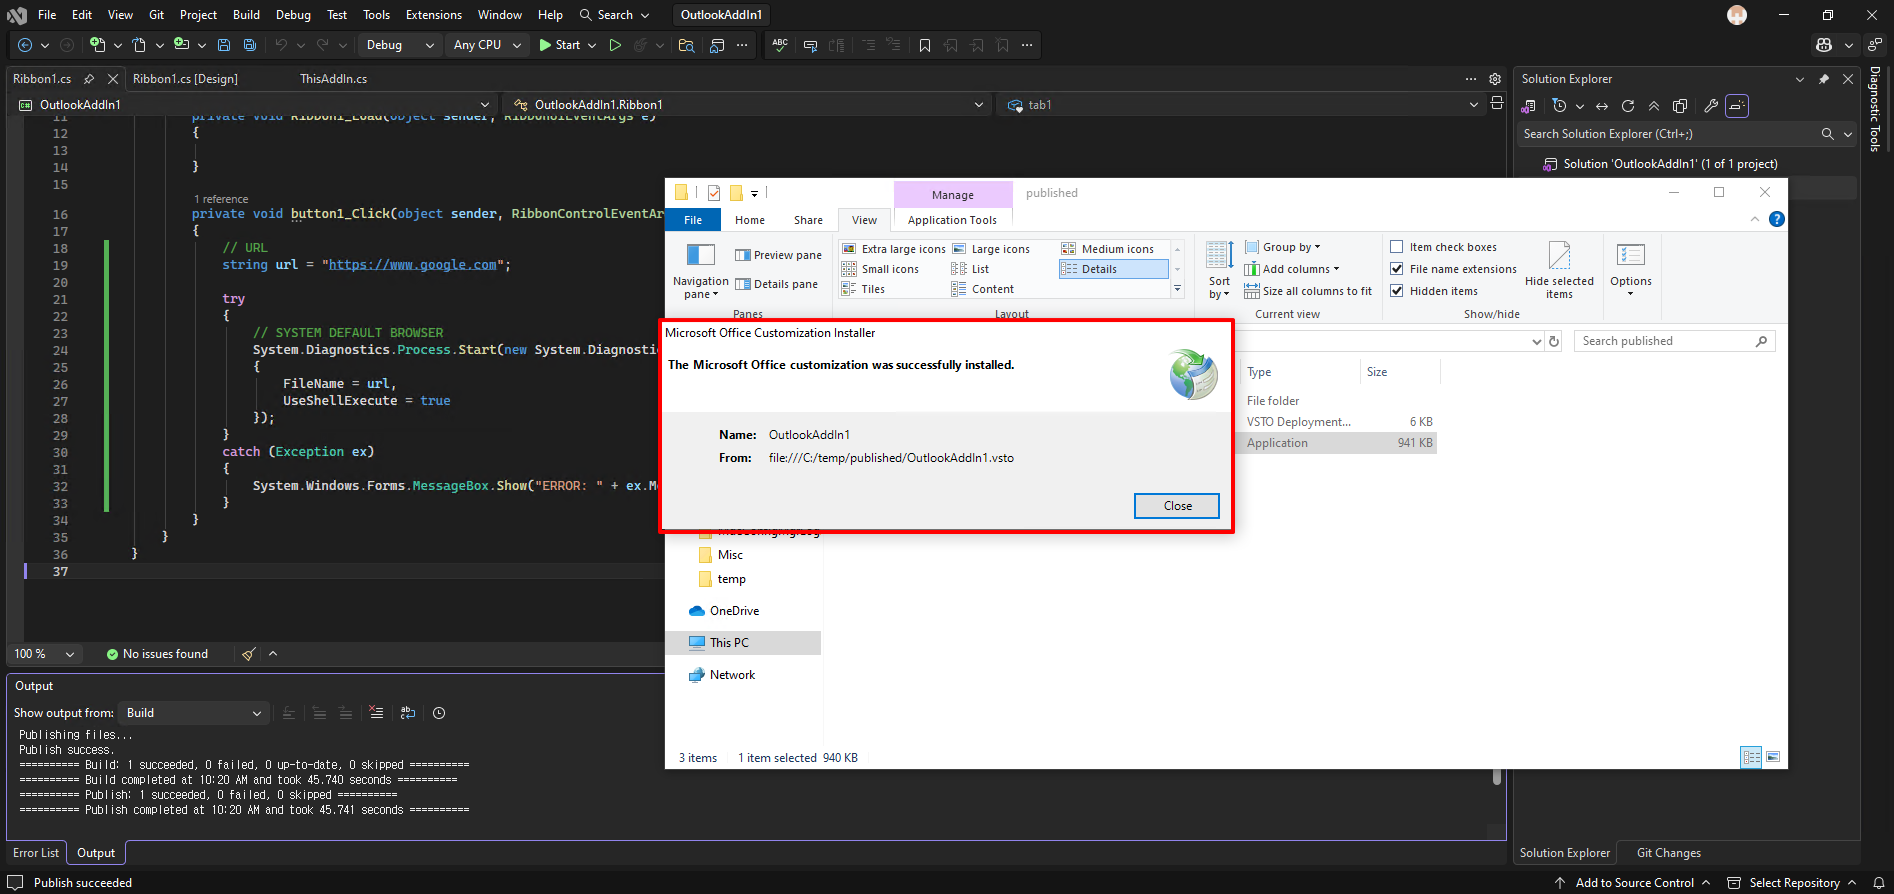
After the installation has done successfully, you can check from the “Programm and features”.
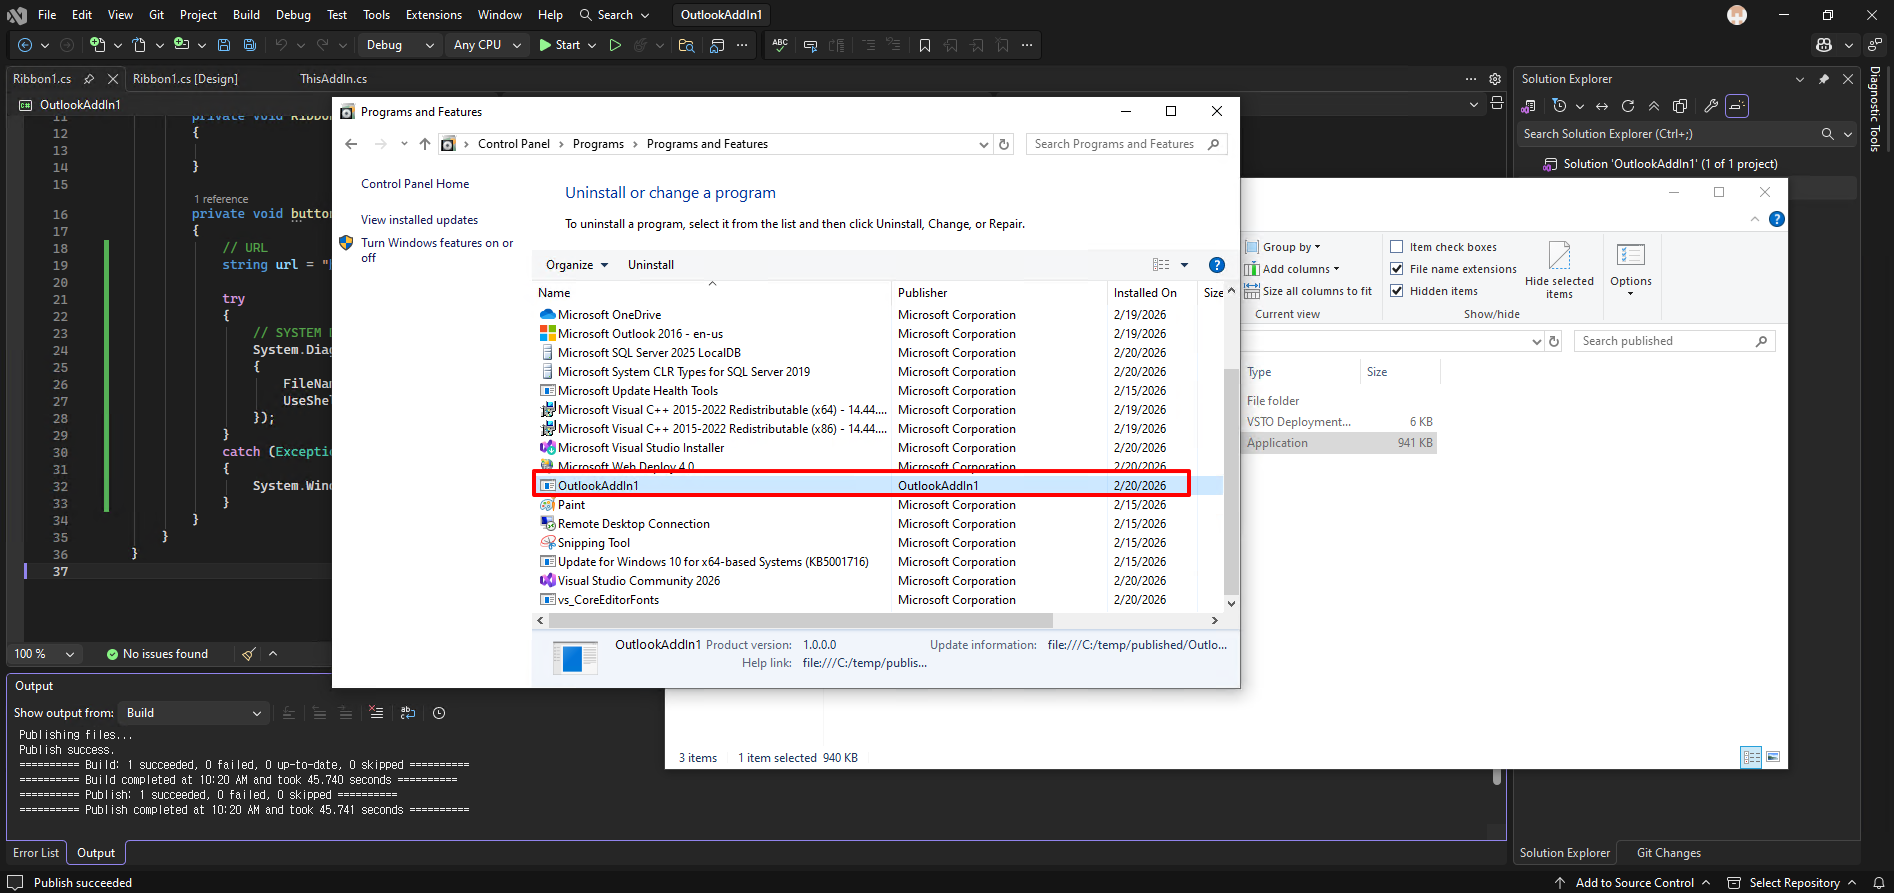
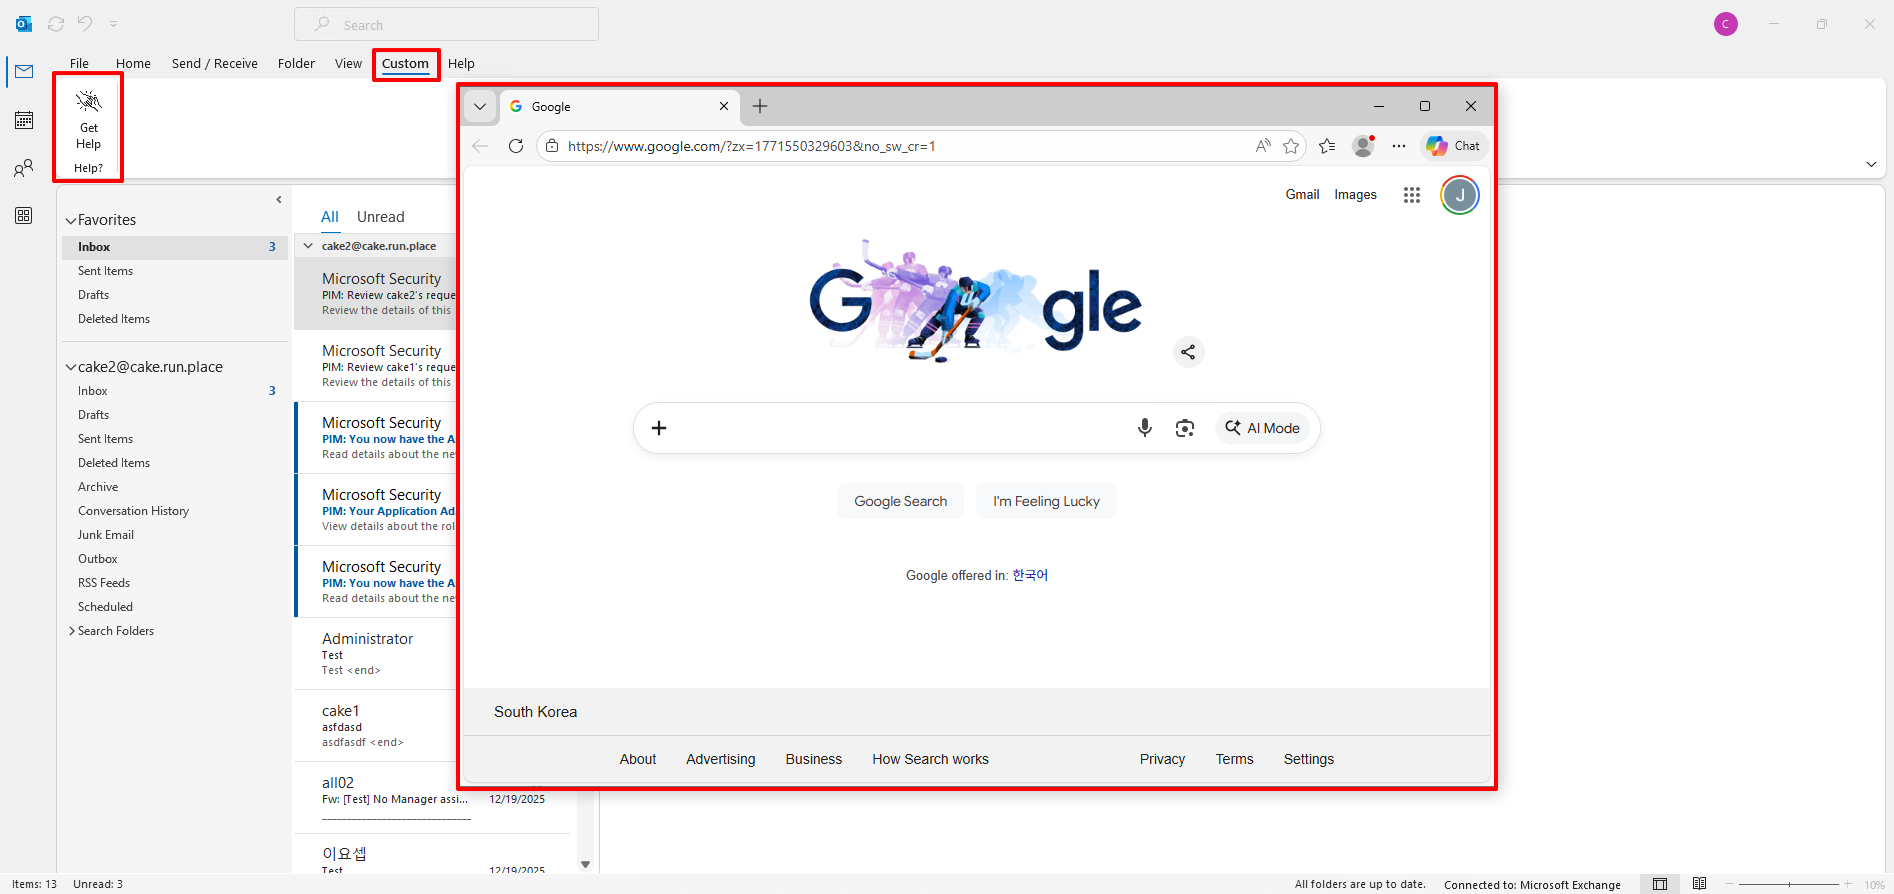
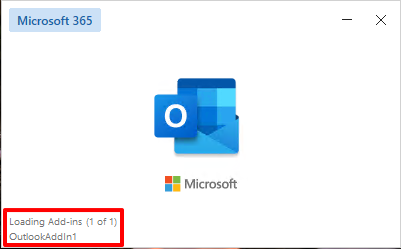
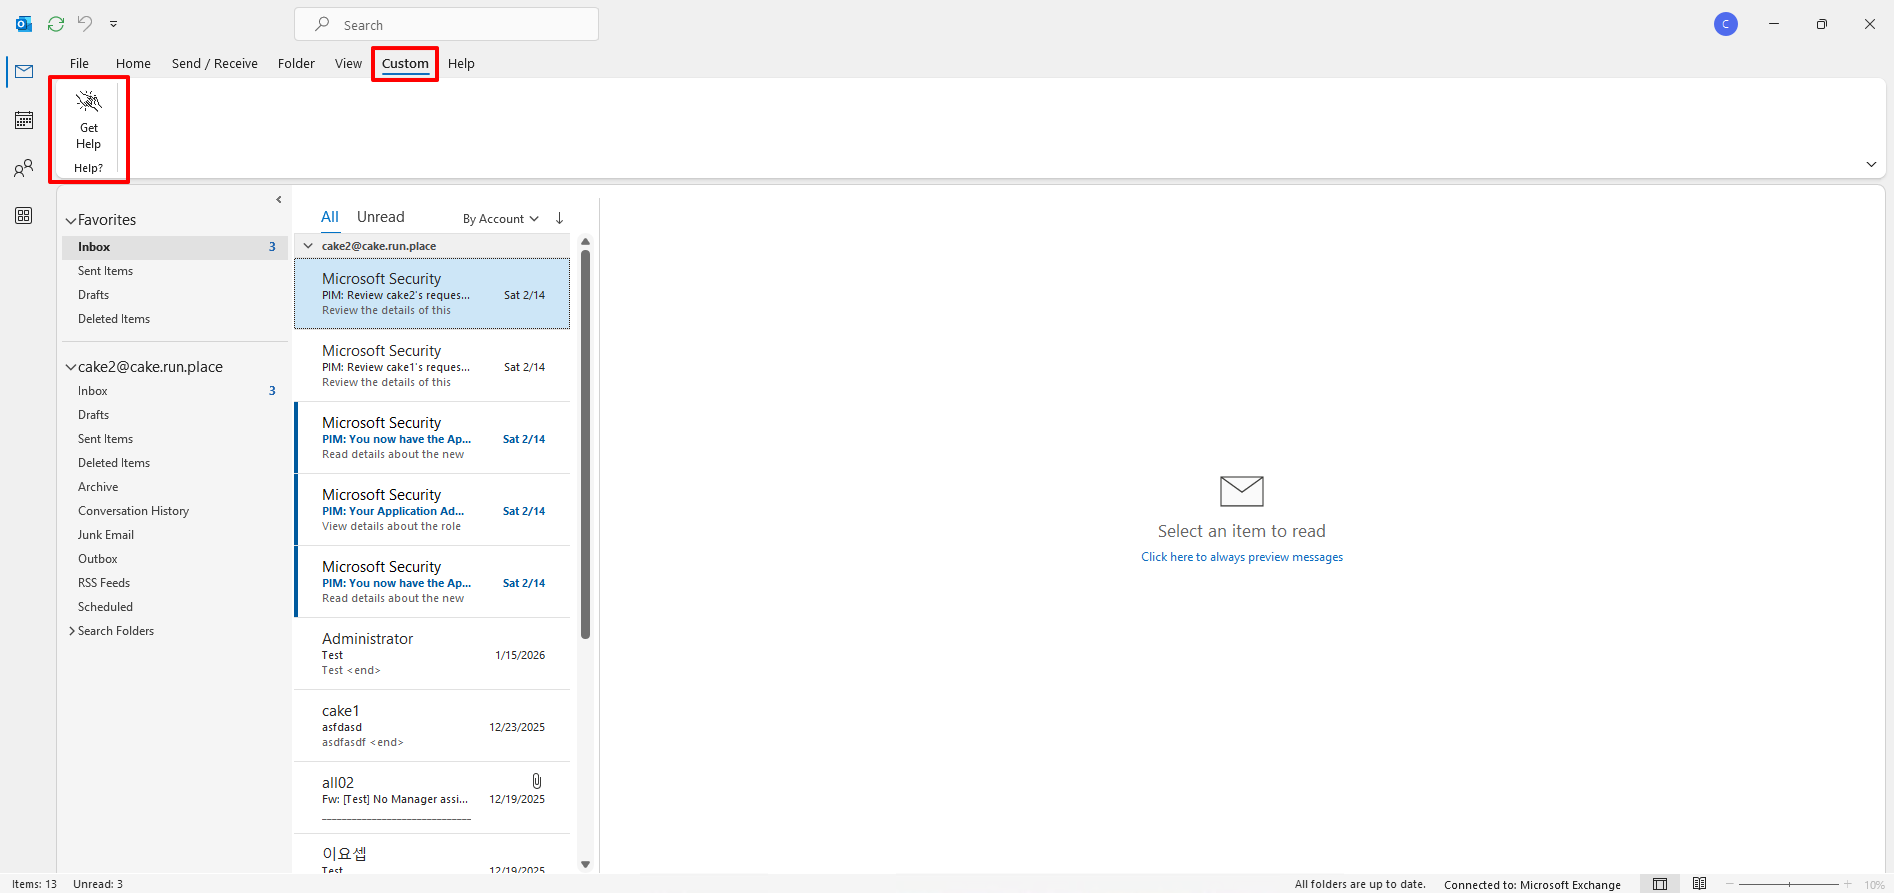
Now, open the outlook classic.
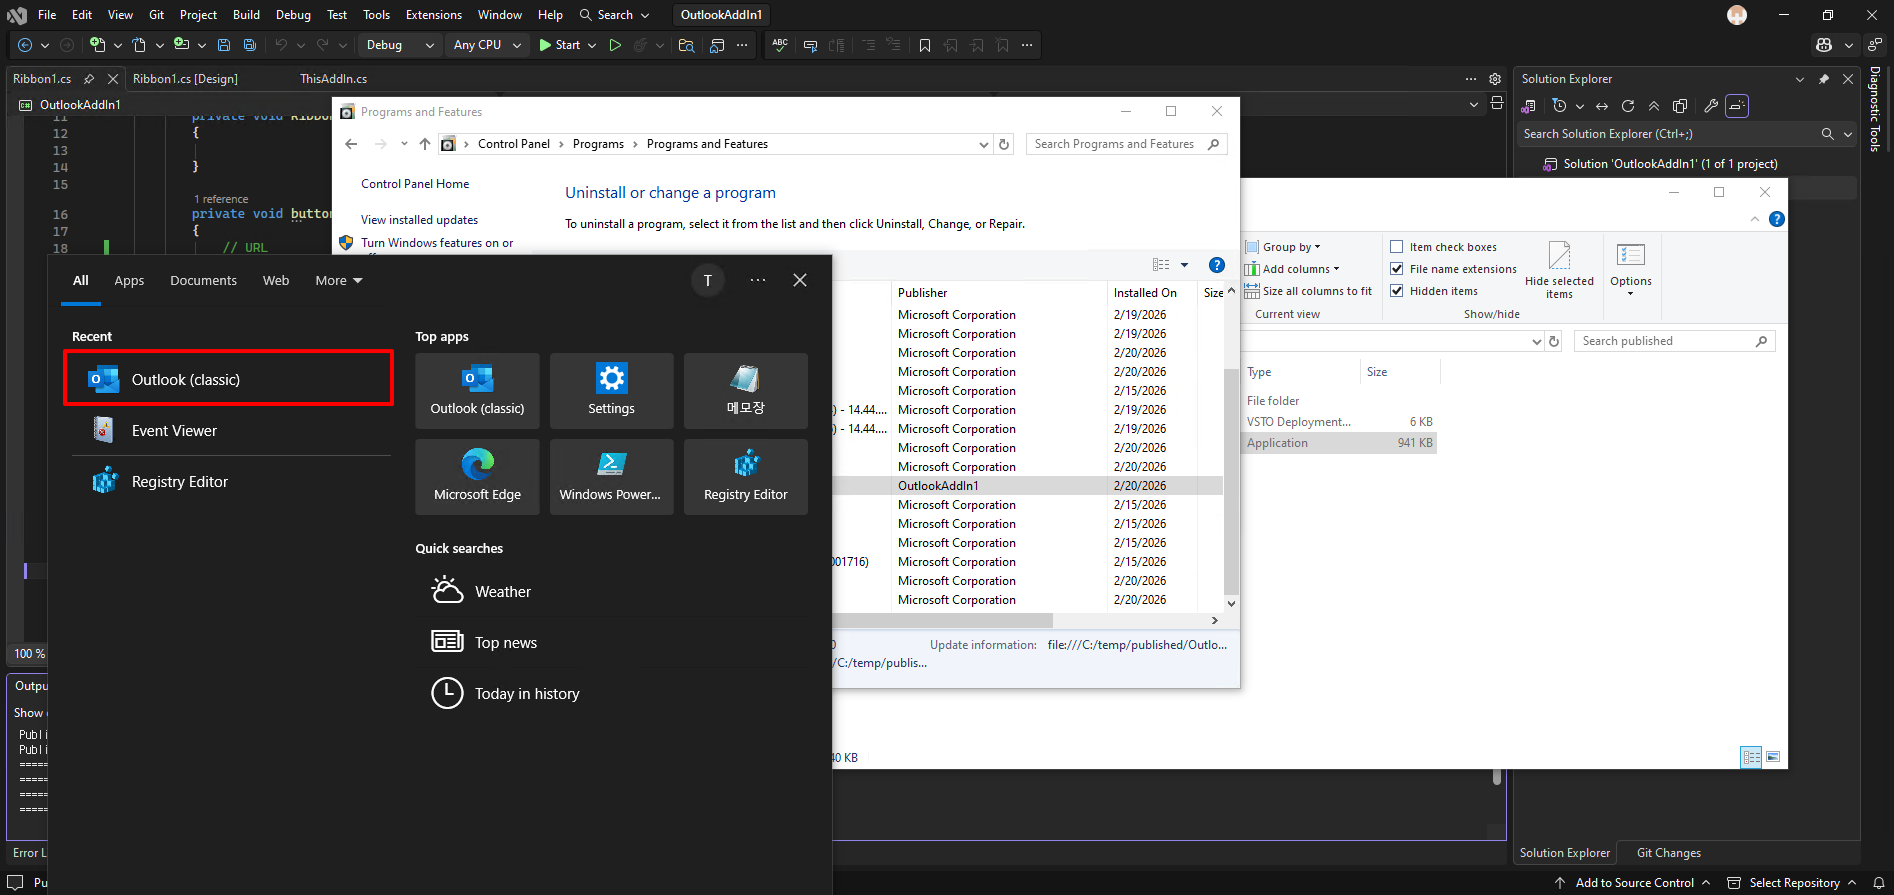
You can see the addin
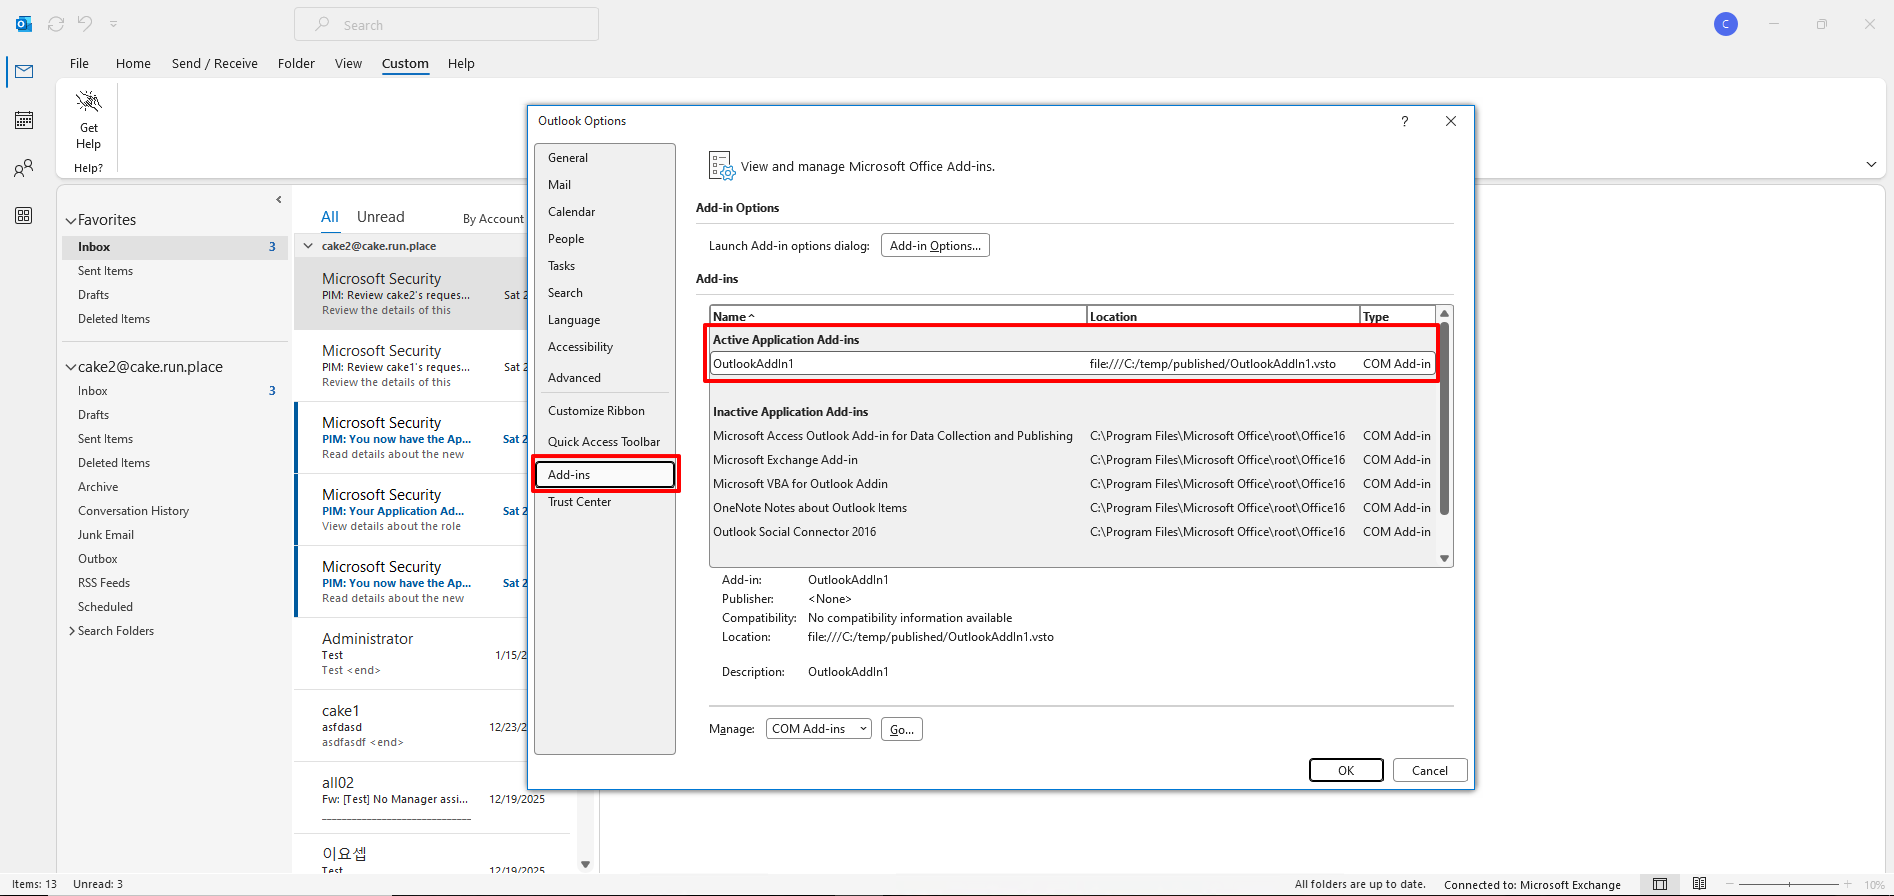
And you can see the addin list from “Files > Options”
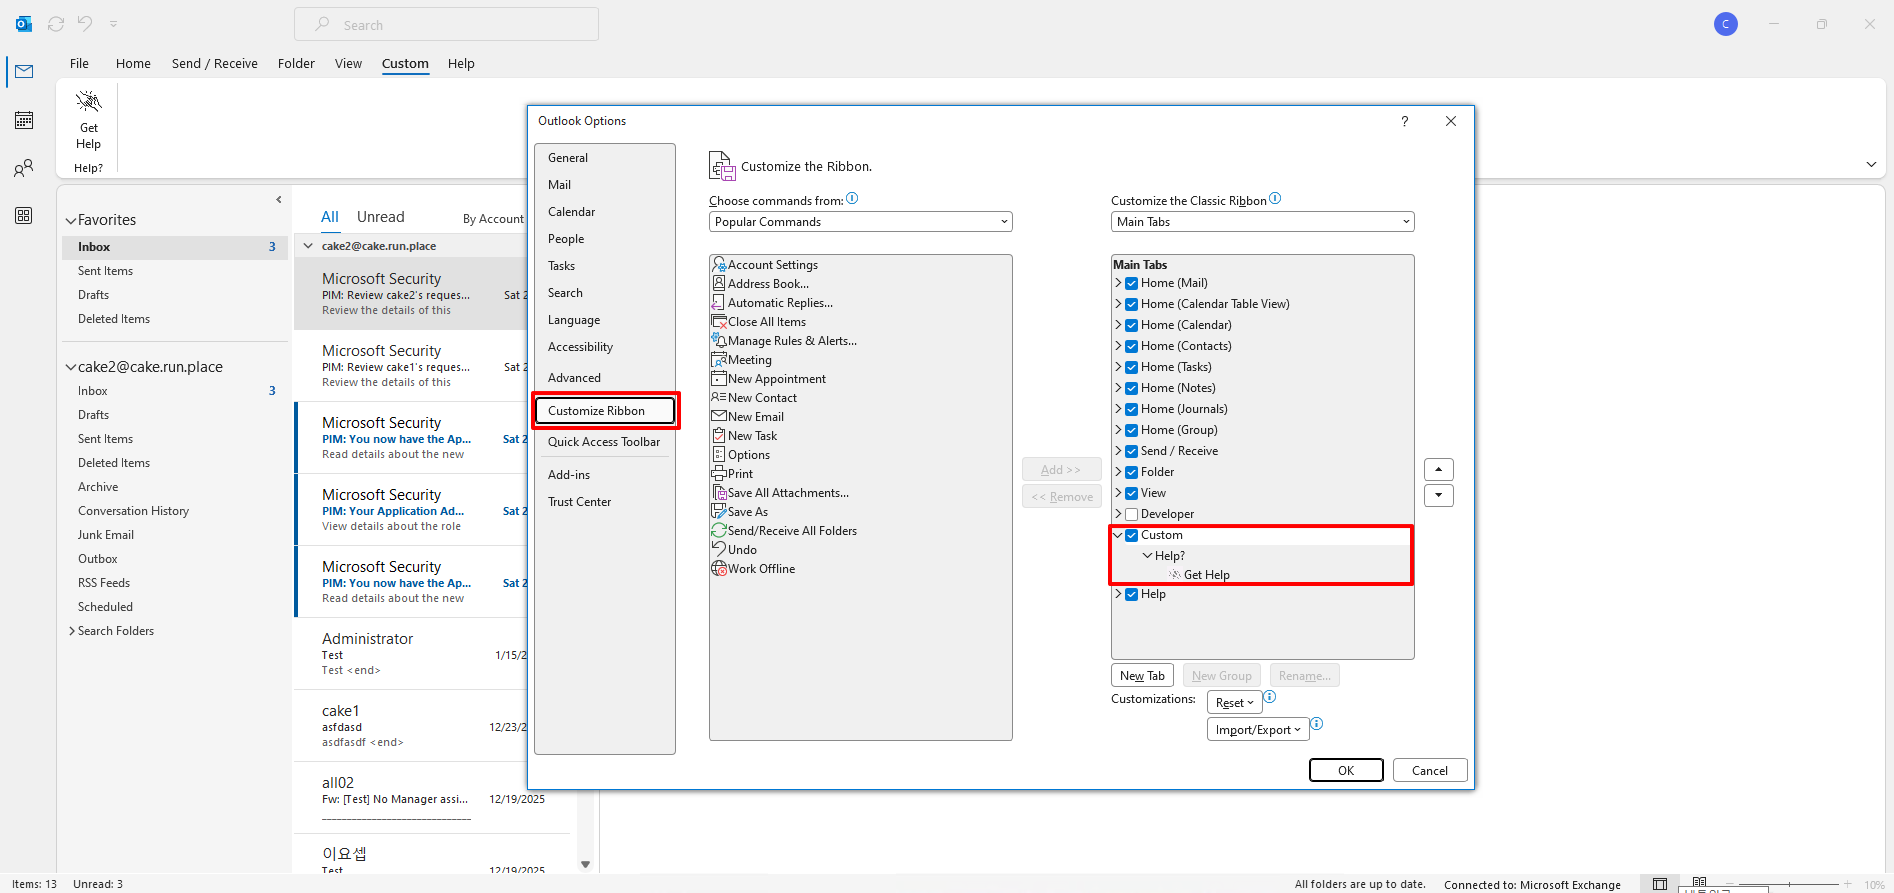
Customize Ribbon as well
So, this is it. This whole process is just a demo, maybe you can set the URL as you want like internal private website like or anything. Maybe you can set the link and set the cname where you want to forwarding to a specific link using internal dns obvisouly.
Leave a comment