
How to increase or customise exchange online mailbox size
Summary
Increase or customise EXO mailbox size. You should use Exchange Online PowerShell to do this.
Step by Step
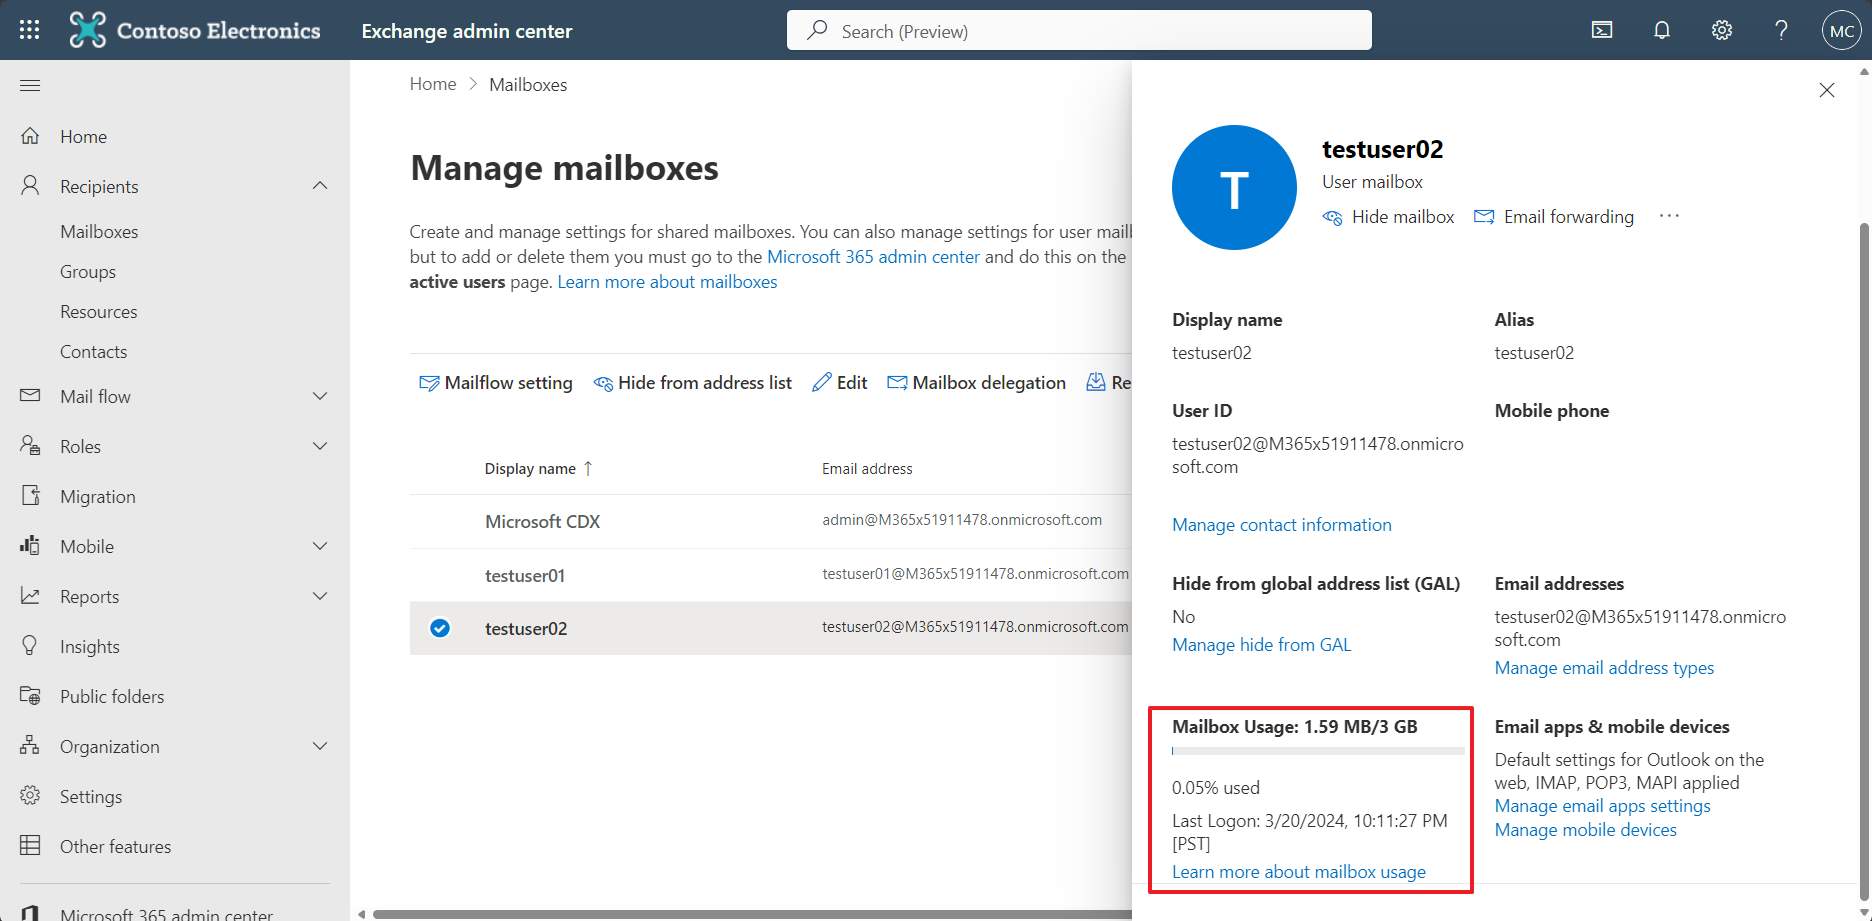
1. Check your current mailbox size
Let’s increase the mailbox size from 3 GB to 10 GB.
2. Connect to the Exchange Online Management
Execute your PowerShell ISE as a administrative permission. And execute this code. Once you execute this, a little screen will pop-up there and log in with the global administrator account in your tenant.
Install-Module ExchangeOnlineManagement
Connect-ExchangeOnline
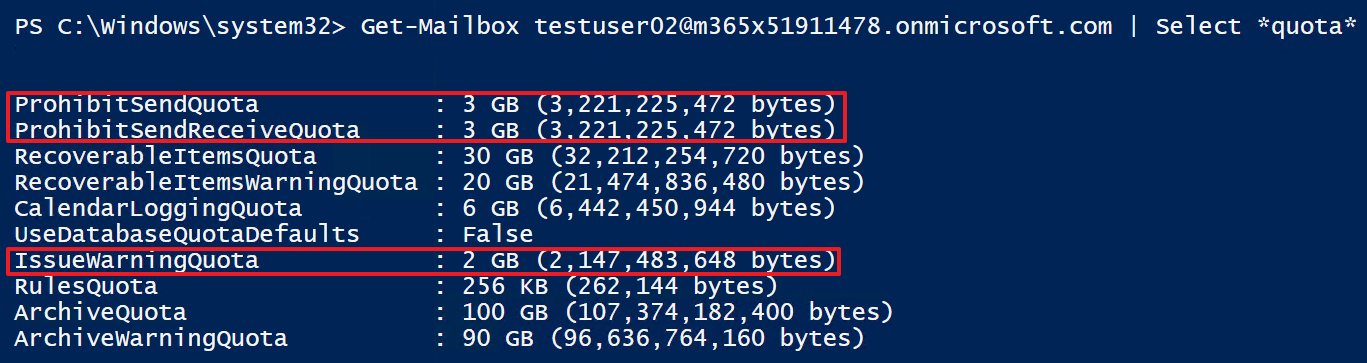
3. Check the current mailbox size
Get-Mailbox testuser02@m365x51911478.onmicrosoft.com | Select *quota*
The result will be like this.
4. Change the mailbox size
Ensure that the UPN and execute this code.
Set-Mailbox testuser02@m365x51911478.onmicrosoft.com -ProhibitSendQuota 10GB -ProhibitSendReceiveQuota 10GB -IssueWarningQuota 2GB
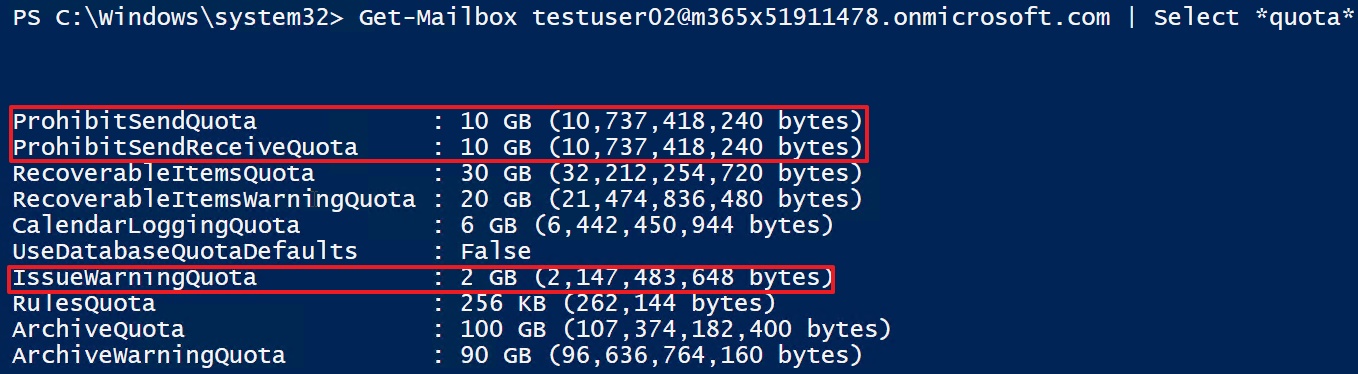
and check agian with this code.
Get-Mailbox testuser02@m365x51911478.onmicrosoft.com | Select *quota*
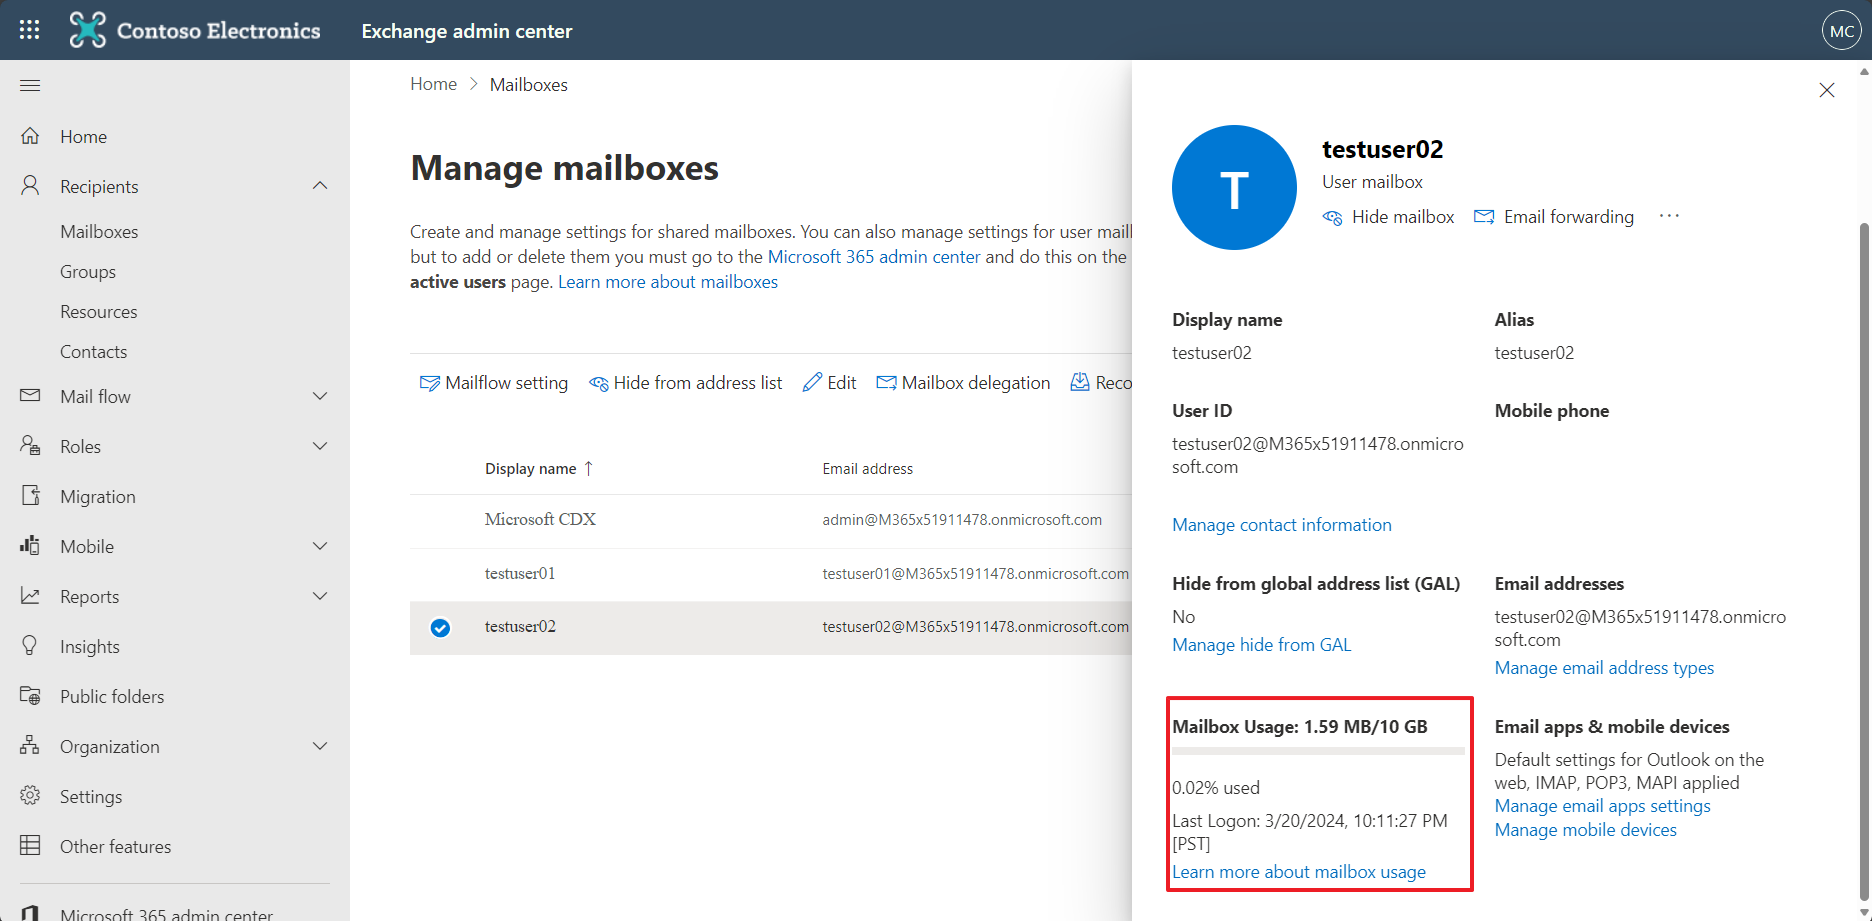
The results:
5. Regardinig the group and the group members
You might be want to change the mailbox size of the specific group member. In this case, you need to identify your group type and select the code you need to execute. There are Unified group and Distribution group in the tenant.
- Unified group(M365 group) ```shell Get-UnifiedGroupLinks -Identity “tester” -LinkType Members | Set-Mailbox -ProhibitSendQuota 10GB -ProhibitSendReceiveQuota 10GB -IssueWarningQuota 2GB
2. Distribution group(Mail group)
```shell
Get-DistributionGroupMember -Identity "tester2" | Set-Mailbox -ProhibitSendQuota 10GB -ProhibitSendReceiveQuota 10GB -IssueWarningQuota 2GB
Notice
- ProhibitSenQuota should be less or equal to the ProhibitSendReceiveQuota
- ProhibitSenQuota should be more or equal to the IssueWarningQuota
Reference
https://learn.microsoft.com/en-us/exchange/troubleshoot/user-and-shared-mailboxes/increase-or-customize-mailbox-size
Leave a comment